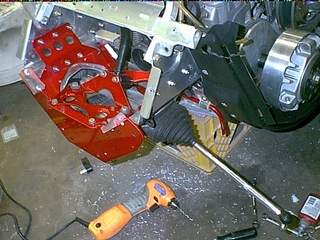
The next step is to install the front end. I got rid of the sway that comes on the Adrenalines, and installed the new style sway bar. The sway bar, end links and bushings I got from Ebay for $27.58 shipped.
Next was to install the panels, and start on the steering post install for the X-style post. You can see the extra bracing from the X package on the back side of the steering post lower mount.That part number is 506151854. It ran about $15 from my Ski-Doo dealer.
The next step was to install the rest of the steering linkage.That is pretty straight forward stuff.The X steering post bolts directly into the stock location with no alterations.
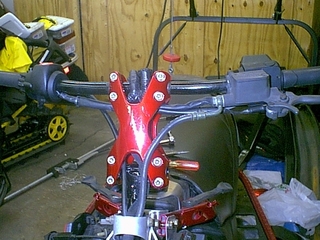
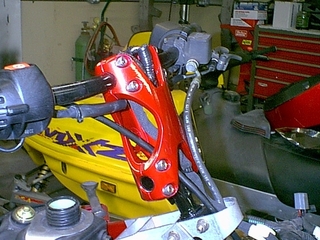
After the steering post was installed.It was time to put in my secret riser.Well it really isn't a secret.It is the riser from a 09 Seadoo STX watercraft.It runs about $200 for both halves and the stainless bolts that hold it together.
I got the bars from a guy on Dootalk for $80 shipped.They had all the electrical controls, hooks, hand-warmers and throttle assembly.
I have since changed out the rubber brake hose for a Teflon hose.Going forward is to add the A-arms.I already had the race lower arms, but still have the consumer uppers.I have since purchased a set of race upper A-arms from Ian at Monster Performance (Here on Dootalk) for $130 shipped to the house.
While the arms were out and powder coated, I chose to put the bronze bushing in the A-arms before reinstalling them.
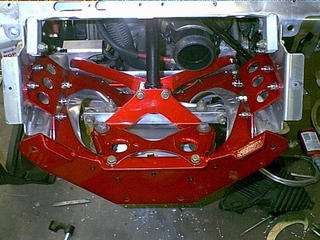
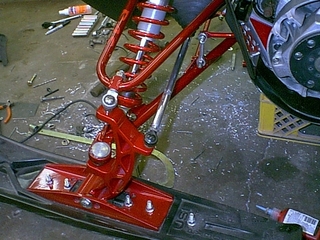
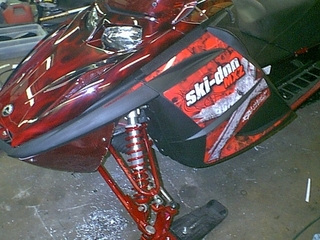
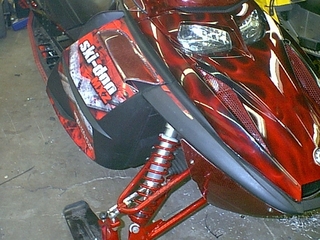
Here is another shot showing the complete front suspension with the new sway bar and links installed.I am running 105lbs front springs.With USI Project X skis.
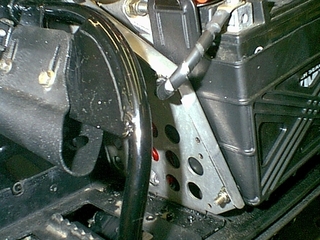
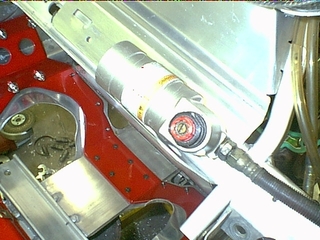
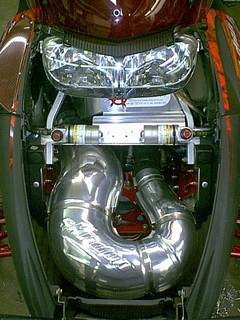
This is the proper location to put the ressies. Some people also mount them on the inside of the front belly pan.It is a matter of choice.Either location works just fine.
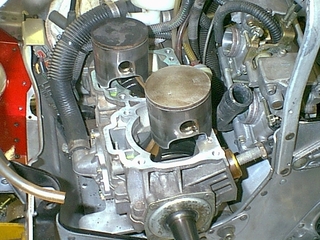
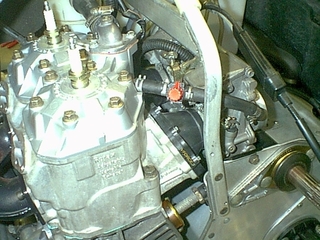
Installing Big John's Trail Torquer kit.
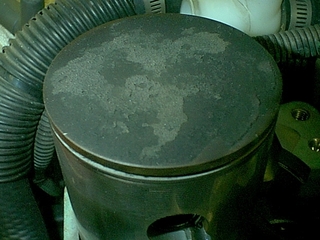
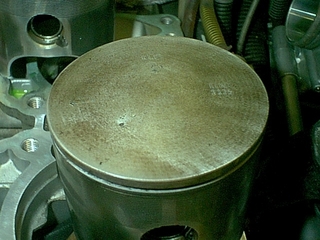
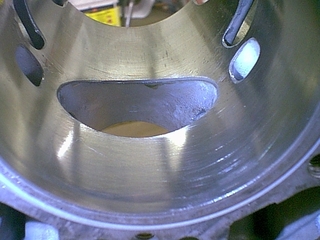
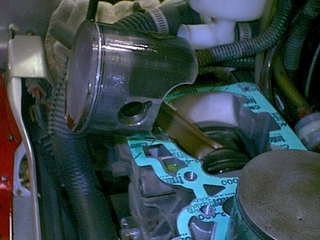
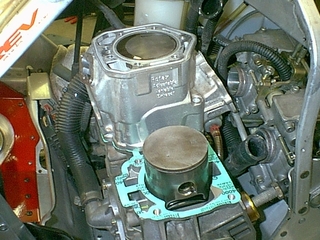
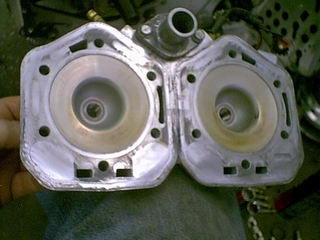
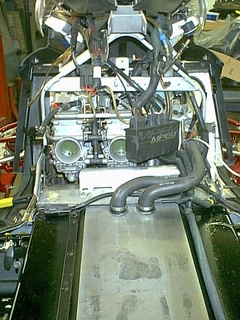
I pulled the cylinders off both sides of the motor.I cleaned off the tops of the pistons and then installed the kit and reassembled the motor.Here is the step by step for the procedure.
I then took the cylinders to Recreational Motors here in Cedar Rapids.I mic'd out the pistons and cylinders to make sure they were within specs and then hit them with a 220 nic stone and installed the kit.
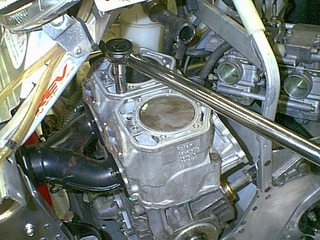
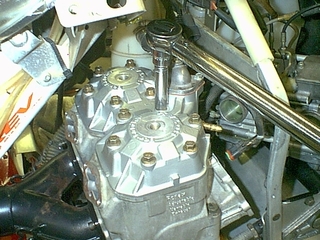
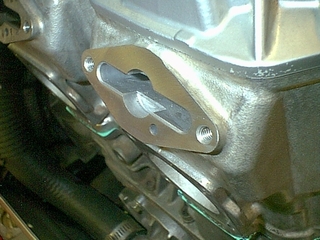
Before I tighten the cylinders down, I put the y-pipe in place to align the cylinders.� Then I tighten the cylinders down.
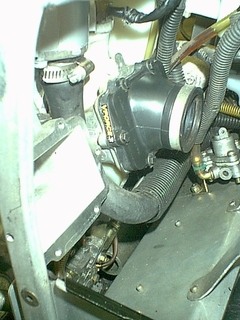
The next step was to install the new V-Force III reeds and the spacer kit, as well.I got them off of Ebay brand new for $225 shipped to the house.
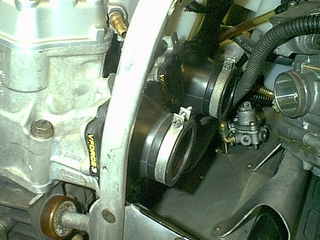
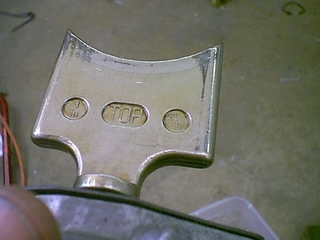
The next step is to clean up the RAVE valves and reinstall them.
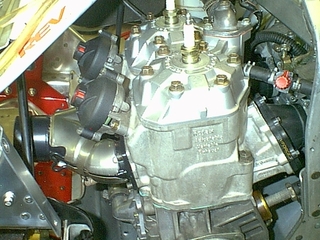
Here is the completed motor back and ready to fire up.
The next step was to synch the carbs.I don't like to have a lot of play in the throttle linkage so I adjusted that to my liking.I also synched the throttles to both carbs so they move at the same time, and the same amount from top to bottom.
A lot of performance can be gained synching carbs to one another.
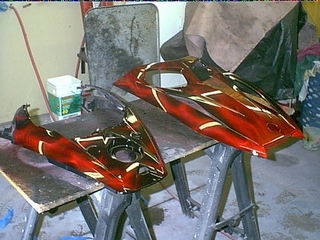
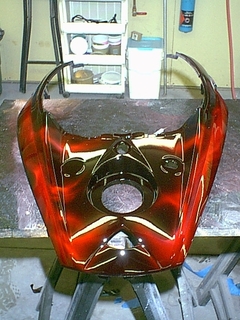
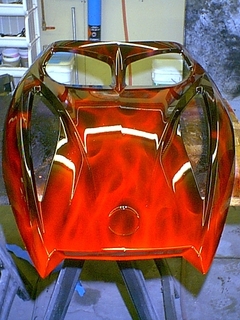
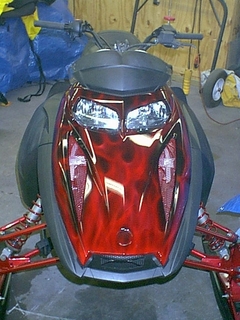
Air-Brushing the custom Hell-Fire hood and console
Before I started the full custom shop, I did extensive air-brushing.� My last sled was painted in True-Fire.� I wanted this fire in all red.� So this is what I came up with.� This I call Hell Fire.
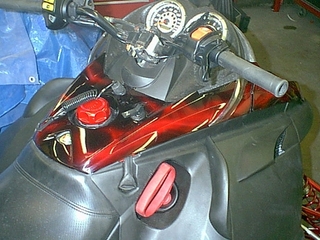
Here they are installed on the sled.
I picked up a Union Bay aluminum gas cap on ebay used for $7.50 shipped to house.� Here you can see it installed.� I had the red starter handle in my shop.
The next step was to install the windshield.� The windshield is from a RT Summit 1000.� I made some custom mounts for it to be used on this sled.
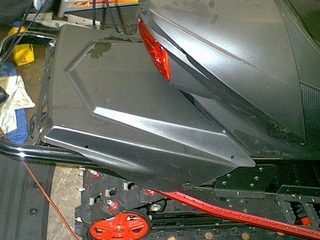
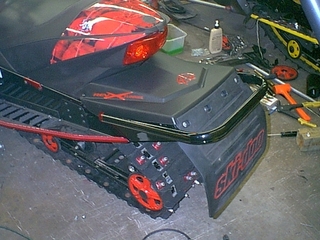
Changing the rear of the sled to a better look.
I didn�t like the way the rear of the sled looked.To me it didn't look refined.I liked the way the old Blair Morgan sleds looked.I found a guy in Vermont that still could get the cover. Ski-Doo does not sell them any longer.I had to pay a little more for the cover than I wanted.But I could not find the piece used in good shape
I got the rear tail section for $80, the 03 seat section with the trail light I got off of Ebay for $30 shipped to the house.
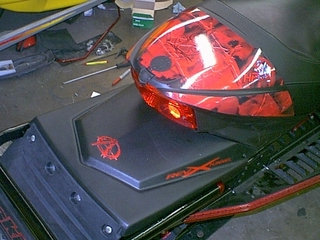
After trimming and fitting, here is the final shot of the piece.� I painted the grab bar end pieces to match the Candy Apple Red.
You can see the rear flap.I got that from my Ski-Doo dealer for $55.That is the older style ZX chassis snow flap.I like the look of those much better than the REV style flaps.
Here is the final shot of the completed assembly.
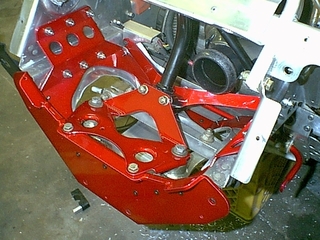
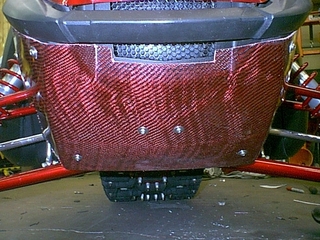
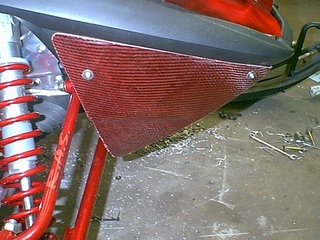
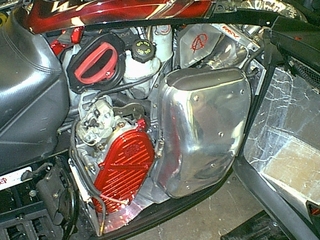
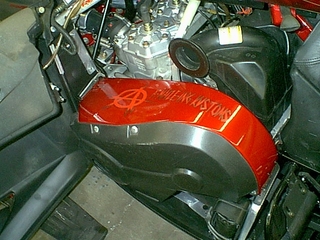
Raffi at RPM Composites (from here on Dootalk) hooked me up with a custom request.I wanted to have a red belly pan/skid plate made.Along with that, I wanted the brake vent to match the setup.He hooked me up with a one-off red Kevlar/Carbon Fiber belly pan, skid plate and brake vent.I still have yet to put the skid plate on.
Here you can see the belly pan installed.I am still working on the skid plate.I have to modify it to fit the brace on the bottom, and to allow my LED's to fire through it.
Here is the brake vent that matches.
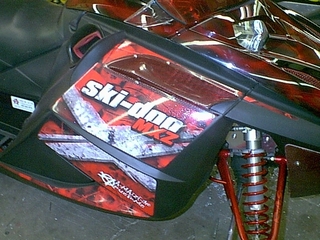
This leads to the wrap on the sled.I worked with Casey at HP Wraps to make a custom, one-off sled wrap.They did an awesome job. Here are some shots of the whole wrap.Including the front side panels and rare trunk lid.
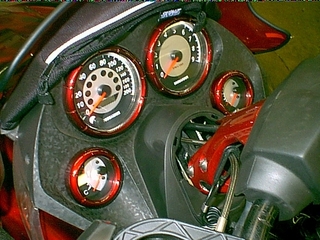
The last thing I had left to do is paint the trim rings on the gauges.I pulled them apart and took the rings off and painted them to match the Candy Apple Red.
Now it was time to put all the other trim pieces back on, and clean up the remainder of the sled.
I have a Snow-Stuff rumble pack on her for when I am around here, in Iowa.� When go up north, I have to change it over to the stock muffler due to noise restrictions in Wisconsin.
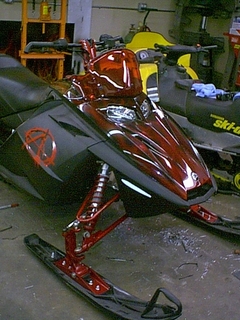
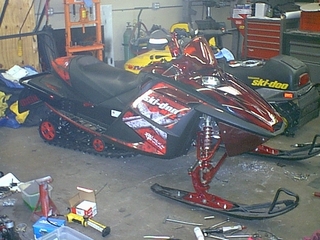
Here are some shots of her all cleaned up.
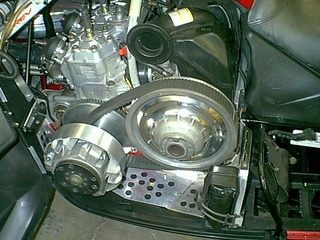
I purchased an HPV roller clutch off of Ebay for $110 shipped to my house. Apparently, the guy did not know it was a roller.He just listed the sled it was from, and nobody bid on it but me.His minimum was $100 with $10 shipping.
I got a clutch set-up from Dynamoe Joe (from on Dootalk).He has me hooked up proper.I also made my own floating secondary bushing.
This is the clutch side completed.
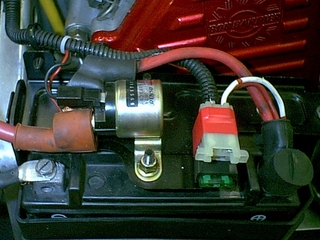
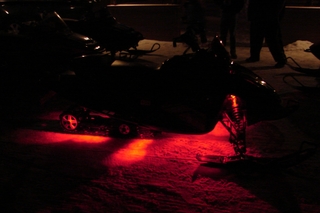
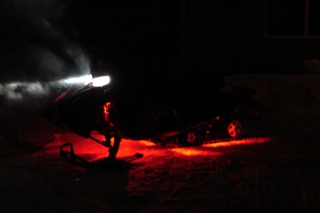
The only thing left that I did was to install LED's under the sled.I used packs of 5 LED's in a plastic housing that fan out.
There is a flexible fixture of 6 LED's above each shock mount.I have one pack on the rear drop bracket, one pack on the running board skag, one on the belly pan, one shining on the exhaust, and one shining out the front.I have these setups on both sides. There are a total of 55 LED's on the sled.
I mounted the fuse to the top of the starter fuse, and have a shut off switch mounted in the console. The LED's work with the sled running, or not.