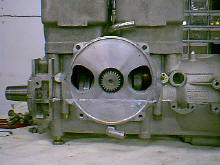
Those last pictures showed what a great job Rainbow did powder coating the tunnel and bulkhead. I couldn't wait to start putting it together before I got some shots of it.
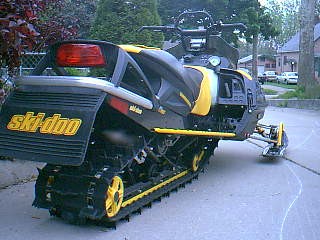
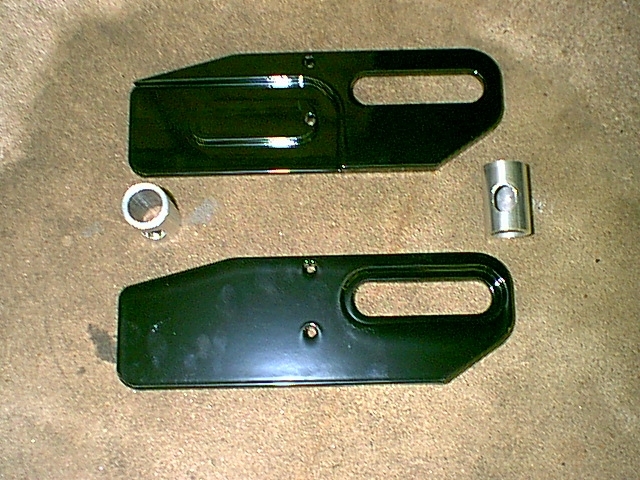
I have the rear bumper mounted, and the running board trim pieces on.
I have to give a big THANK YOU to Scott at Recreational Motorsports and Big John from Snowest. They were instrumental in giving information on the motorwork and port work done. Scott is a master at machining engines, and a great guy to work with.
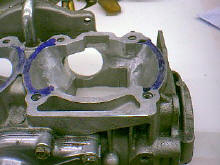
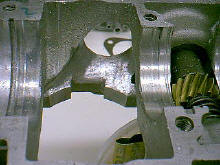
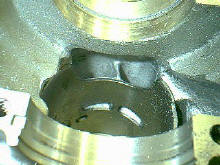
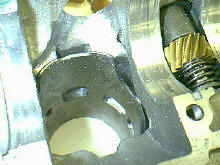
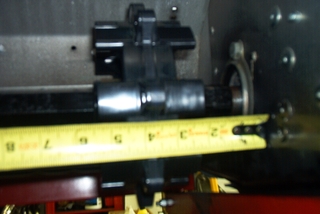
The first picture shows how I got the cylinder back from the machine shop. You will see in the later pictures how I fit them to the case so the transitions were smooth and did not disturb airflow.
The remaining pictures show the after shots of about 12-14 hours of measuring, cutting, measuring some more and then finally getting it where I wanted. Micrometers are a must for this type of work. Those and a TON of patience.
You can see how the intake opening was opened up to allow more air into the tranfer area. Once it was all smoothed out and the shape and dimensions I wanted, I had Scott take a look at them. He gave me a couple of more suggestions, I made the changes and then had him sand blast the whole modified area to give it a perfect surface.
Scott then finished bored and honed the cylinders to fit the Swain Tech coated pistons. I had them coated with a Thermal Barrier on the top, and Poly Moly on the side skirts.
Once all the machine work was done, I sent the case, a cylinder, piston, rings and wrist pin to The Crank Shop. (That is the only service Scott does not do - yet) They machined the stock head to 14.5:1 compression. This will make me run 105 octane fuel at sea level, but still be able to run 87 octane at 6,000 ft or higher. (I will be having a lower compression made for sea level as it will be riden in the U.P.)
All I will say about the carb system is that it has 46.5mm carbs bored by Scott. I also had him mill the tops of the slides so they would clear the top. I have set them up to my liking. This fall, after Hay Days, it will also have a Holtzman ATACC system on it. I run one on my MXZ, and it works perfectly at any altitude and any temp.
Once the motor was together, I had to fit the RAVE valves to the new pistons. Since they were larger than the 670 pistons by 4mm, I had to sand them back. I have a 2" coarse sanding wheel for my drill press. I put the RAVE in the sleeve, and then rough marked the part that stuck out with a Sharpie. I sanded the RAVE guilotine down to the edge of the line. I then put the RAVE back, and checked the fit. I only ground it down until it was perfectly flush. I then ground it down to 0.010" clearance. Which was a little tight, but functional
I then put new bearings in the rotary shaft and all new seals. I also put new seals in the waterpump. Scott checked and trued the crank to a 0.001" end play. The inner seals were fine. Scott felt the crank had been rebuilt prior to it being put in the box with the sled. He said the bearings looked new, and the seals were new. FINALLY some good luck.
I scored a Fluidampr from EBay for $51 to help keep everything in harmony. Although it may be a waste, as I am not going to go beyond the rev limits of the crank. Maybe overkill, maybe not.
I also picked up a Carbon Tech 169degree rotary valve from Scott for $51.
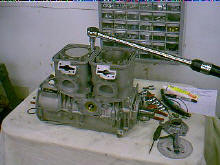
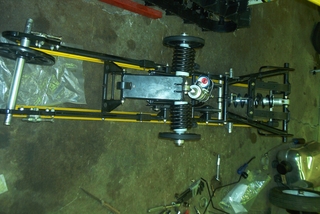
Everything is ready to go together.
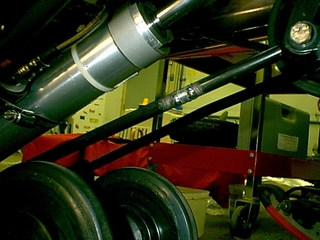
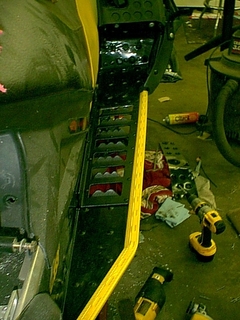
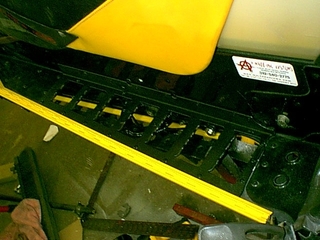
These pictures show the pieces going back on the sled. The steering post, the chain case, the clear tank and other pieces.
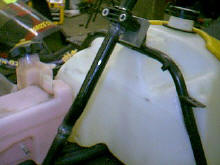
These pictures show how I fitted the ZX chassis oil tank, steering hoop and tank. It also shows the 1" aluminum block I used to move the handlebars forward.
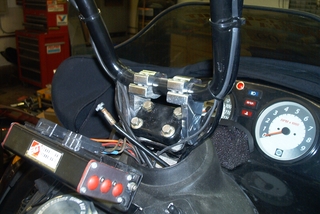
I also included a picture of the mock up of the steering post. I made a new post from 1" DOM seamless tubing. The tube and bending cost me $21 at Duffield Racing. I then welded the mount for the handlebars just above the top of the cowl that covers the tank top. This allowed me to use the high rise handle bars from a 05" REV.
J-Hooks and a Powermadd mountain bar round out the controls. I may opt for a Gold Finger left hand throttle at a later time. I have never had one, so I may never use one.
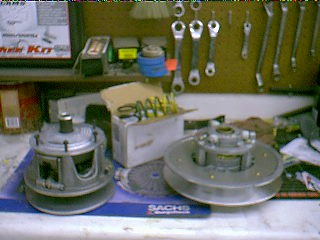
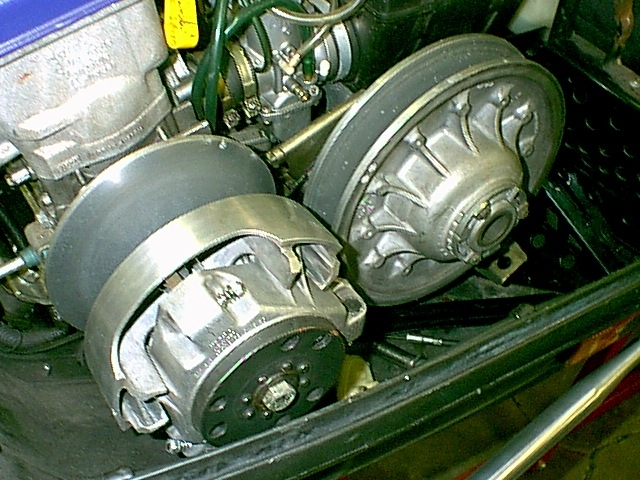
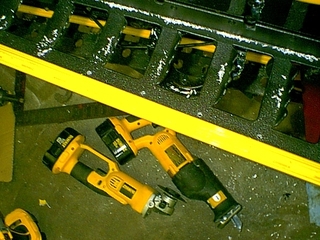
These are the clutches I am using.
The canablized sled came with a Comet 108EXP. The cover was damaged and needed to be replaced. I got one from JR Graham for $35.
I got the Arctic Cat reverse roller cam secondary off of EBay for $137. It was pretty much set up to what I need. I think. I haven't yet been to the mountains with it yet. I will need to do some tuning at altitude on the clutches.
I also picked up a used Heel Clicker Clutch set up that worked on the Comet clutches. I got that for $75 on Snowest from a guy who lived 15 miles from my house.
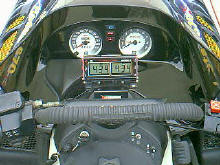
To kind of round out the rest of the purchases, I got a Digitron 2 window from Snowest for $275 with the exhaust probes. I ordered another probe for water temp, and a lead for a remote warning light. Those cost me $97.
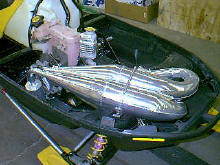
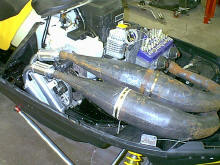
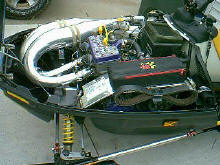
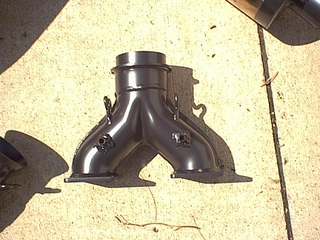
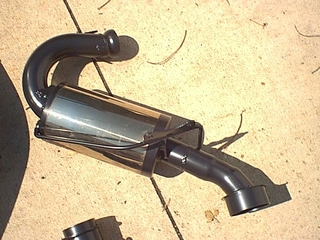
I also picked up a set of SLP twin pipes for a Summit on Snowest for $150. I sent them to Jet Hot to be coated for $135.
It was now time to put the whole thing together and see what we got.
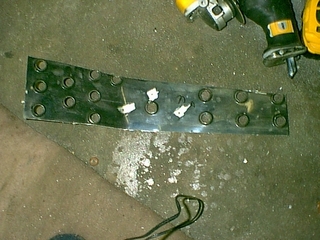
I got all the remaining pieces back from powder coating.
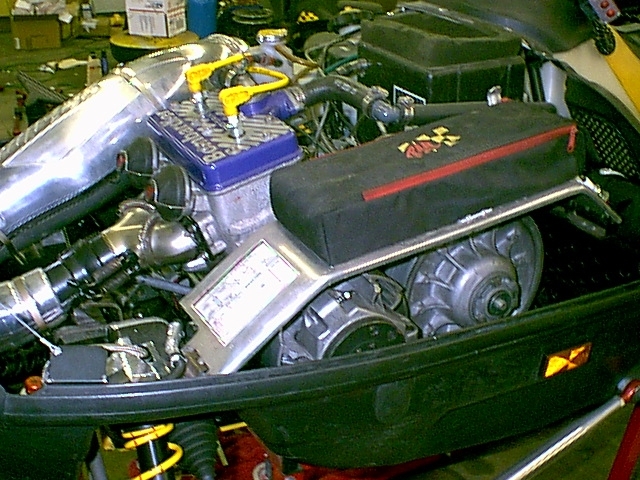
I had the head, the primary cover and the recoil cover powder coated purple metalic. I then sanded the high spots off of the head and the clutch cover to give them back their stock look.
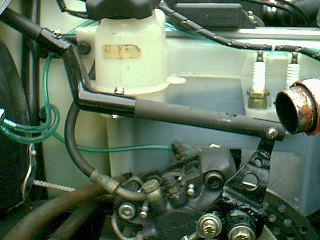
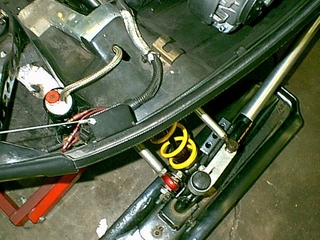
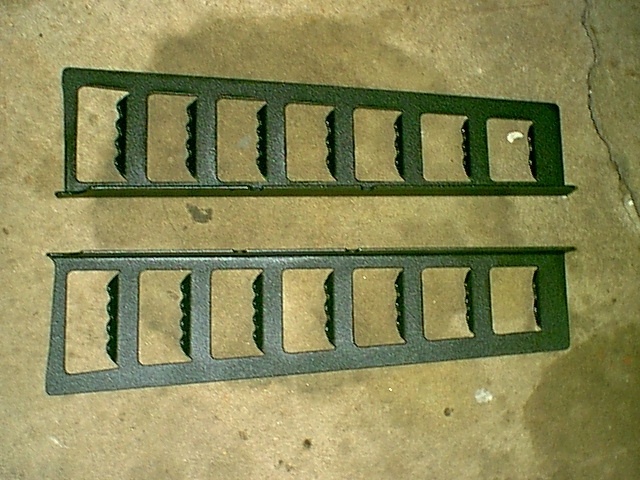
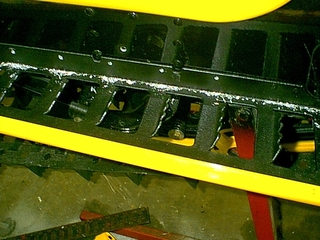
This also shows the coolant hose routing and the air box in place.
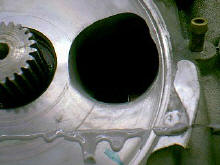
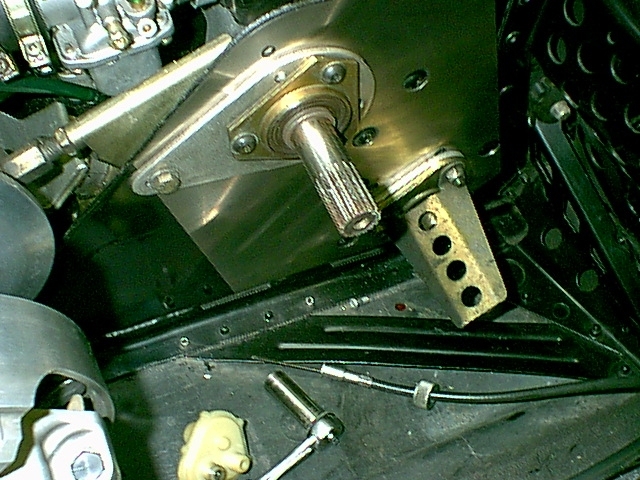
I had to make a specific set up for the reverse on this sled. Since the chaincase and reverse came from an S-Chassis, and the oil tank and rear vents came from a ZX Chassis, a little creative metal work was called for. I made a new lever to shift the mechanism on the top of the chaincase. I made this from 10 gauge steel. I cut the old lever off at the widest part, just above the pivot bushing. This way I could use that without making a new piece.
I had to offset the lever about 1" to have clearance for the SLP twin pipes. They have a presilencer. That is what was in the way of the original lever.
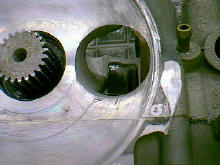
Once I got the proper clearance. I drilled two holes in to match the factory look. I now needed to get the outside shifter-pull out of the way. If I would have left it straight, it would have been in the middle of the vent. Then your knee would have been banging on it all the time.
So I found the proper location up tight against the tank. The problem now was that the shifter-pull and the shifter-lever were not in the plane. So I went to Storm Steel and rummaged through their steel piping scraps until I found a piece that the shifter rod would fit inside.
I then came home and went to work on a modified Z-Arm. I laid the angles out with coat hanger wire. Once I got it laid out, I measured the angles. I then divided the angles in half and cut them out on the tubing. I tack-welded it all together, and tested it. It worked perfectly.
I welded the whole thing together, ground off all the welds to a nice finished look, and painted all the pieces black. I used stainless bolts to hold it all together.
We go to Wyoming in an enclosed 4-place trailer. We have to drag 2 sleds in backwards to get them all to fit. I no longer have to drag my sled in. I can just back it in. SWEET!
I just had to make one final piece to finish it off. The rope tube for the pull start. I had to kind of shape it in the form of an S to fit around the brake system. Since it was dropped and rolled, I had to take it over the jackshaft.
I welded a support bracket on to it. I then got a 1" longer allen bolt to hold the brake caliper together. Since the bolt actually threads into the back half of the caliper, I got it longer so it would stick out past the caliper. I then used that bolt to fasten the bracket. I used a Nylock nut to hold it all together.
Unfortunately, I did not take any pictures of this. But you get the idea.
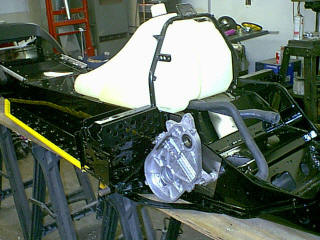
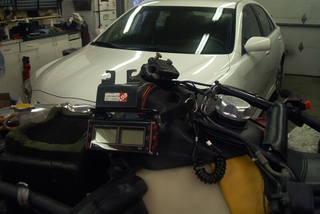
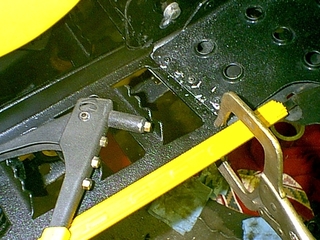
Now that all the fabricating, powder coating, painting and engine work was done. It was time to start putting it all together.
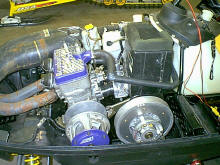
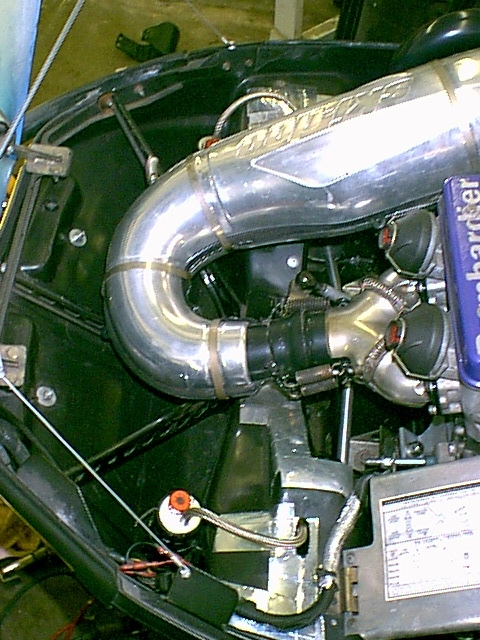
Here are some shots of the engine bay. The pipes have been Jet Hot coated. I made an aluminum bracket to go in place of the ZX MPEM module. I could then bolt my S-Chassis module in that place.
The coolant hoses were relatively easy to install. I just went to Menards and bought hard plastic angles to fit in the tight places.
I also put a purge on the top of the upper radiator hose. This will allow the system to burp out any air bubbles on its own. I did this because of the kick-up in the rear cooler. The rear is actually higher than the top of the motor. I did run it and hold the front higher than the back. I put it there just in case I didn't get them all out.
Well....this is what my vision ended up with.
Everything is back together for the final time. It is now time to see what she will do.
To recap it all.....
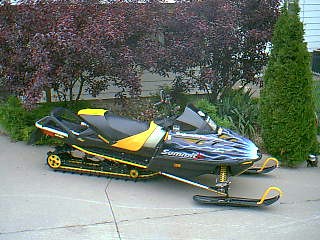
It is technically a 2004 Summit 670X. I had a VIN number assigned by the Iowa DNR, and it is registered as that with the Linn County Treasurer.
It is a 159" X 2" paddle track.
The motor is a 670 punched to a 740. It is running 46.5mm carbs. I am running 340-350 mains. 55-60 pilot jets at 1.75 turns out on the pilot jet. The EGT's are within 10 degrees of one another. She starts extremely easy for a high compression motor.
The chaincase is a mechanical reverse. I am running 21-44 gears in the case with a 72 tooth chain. I am running two 9-tooth extrovert drivers on a stock drive shaft.
The clutching in the primary is a Comet 108EXP with a Heel Clicker clutch system. I have the arms set at 50-10grams. I have 5.2 grams of weight in the shoulder, and 5.0 grams in the tip. I am also running their black spring, which is 140-400lbs of pressure. This allows the RPM's engage at 4300RPM's at sea level, and tops out at 8400RPM's. Those are high for mountain, but when it is down on power, it should bring it in at 3800 engagement, and 7900 for top end. I will have to wait and see when it is at altitude.
The secondary is an Arctic Cat reverse cam roller secondary. I have a 55-53 degree helix in it now. I am also running a red spring with a white stripe in the #3 hole.
All of the clutch work is just a starting point at this stage. Later this summer, I will be putting in on the engine dyno to find out it's true power band. Once that is established, the clutches can be tuned to that range.
Now it is time to put her to the test. A test run in Eagle River Wisconsin on a Snowtracks run.
The Good, the Bad and the Ugly.......
Well...she fired up on the 3 third pull. SS670 was there when she came to life. The 110 octane race gas smelled mighty fine.
I must preface this with the statement that I was supposed to have another week to get everything in order. As some of you may have noticed, the sequence as laid out in this forum was NOT the actual sequence of events as they took place. Doing the article in this fashion was much easier than bouncing around from this piece to that. It was easier to follow in this manner.
The fact of the matter is that we changed the date for the break in, and moved it up a week. I had just sent the pipes to Jet Hot on the Monday of that week. I got the pipes back on Thursday at around 5:30PM, and we were leaving for Eagle River on Friday around 10AM.
I skipped a couple of steps that I normally take to make the deadline. That was a costly mistake as you will find out. I take full responsibility. It was my own fault for not going through my regular assembly procedures. They have been tried and trued on many an engine. When you get out of your routine on engine building.....BAD things happen. That is exactly what took place here.
Normally, I pre-prime the oil pump on the bench with the intake off the sled. I have a dremel tool that I made a gear fitting for. I hook a line up to the pump and prime the pump then put a cap on the inlet tube and the two injector tubes. This prevents any further air from getting in the system. Due to time restraints, I did not do this process.
I fired up the engine, and primed the pump. I should also say I picked a poor time to change brands of oil. I changed to Blue Marble. There was smoke coming from the exhaust, but not a lot. Since one of Blue Marbles claim to fame is less smoke, I thought this was normal.
I got to Eagle River. I missed the 10am time, and we didn't leave until Noon. Not too bad of a late start. I wanted to get there and on to the lake to dial in the carbs and clutches and then ride on Saturday. We got there, I hit the lake. The carbs were dialed almost perfectly, and the clutches came in at the previously described marks. I made quite a few runs. I put about 2 miles on it. The EGT's were right around 1180 degrees at WOT...everything seemed fine.
I will say that she was a bit of pig (to put it mildly) to try and pull over to start. I later found out that the factory rope was a bit too fat for the tube with the bends I had to put in it. Add to that the high compression and the bend in the tube...needless to say; it was quite an effort to start. You could literally pull it across the parking lot trying to start it...which we did after the first run on the trail.
We all got started the next morning, and while the rest of the Snowtracks crew was getting ready, Viper Vixen, The Great One and I decided to head to the gas station to get some 110 race gas.
We got exactly 2 miles from The Hiawatha, and the motor just shut off and died. We could not get it started. VV went back and got the guys, and we trailered it back to The Hiawatha. This was not a good beginning to the trip.
Pitgrunt and I worked on it for a while on the trailer. It didn't have any spark. So we started to unplug fittings and plug them back in. We unplugged the tether cord, and she fired right up. Cool.....back in business.
So the whole crew headed towards town to get fuel. We got another 2 miles and this time she kind of seized, locked up the track and came to a screeching halt.
Pitgrunt and I worked at dumping oil in the top of the spark plug holes. He turned the clutches, and I poured oil. She would not start. Back to The Hiawatha to get the trailer. She would not start this time at all. We had spark, and she pulled over a lot easier that she did before. Now there's some good news....NOT! My trip was done with 6.4 miles on the new sled.
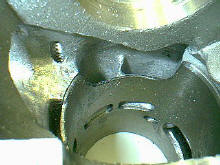
I got home and pulled the engine. This was my first engine failure on one that I had built. I was curious to see what the culpret was.
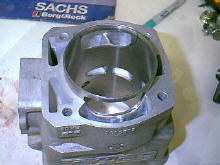
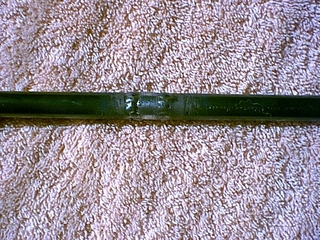
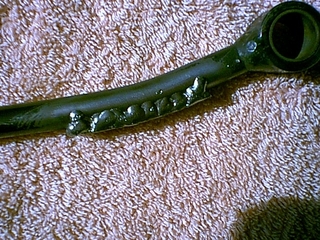
Well, as you can see by the picture, the piston and sleeves were toast.
I need to back up a bit here. I had purchased a '99 670 HO intake off EBay for $40. It included the intake, oil pump and lines. Remember when I said that I didn't check it out....well....I should have. This was a classic case of "don't judge a book by its cover". The pump piece looked almost brand new. The pump looked as though it was just put on. That is part of the reason I skipped this part of my routine.
Well...that was the downfall of this motor. When I took it off, the pump gear was in two pieces, and the small injector lines were filled with what I can only describe as well...have you ever seen an oil slick run aground from the ocean The stuff that came out of the lines kind of looked like that. It was thick and black. What had happened was that the injector barbs would not allow this crud to go through and blocked it up. When I put the intake on, the lines looked clean. I don't know if the pump went bad and then the wheel broke, or the wheel went bad....all I know is the top end didn't get ANY oil and locked up.
The excessive heat also caused a little expansion of the RAVE valve. There was a slight sign of contact, but the damage had been done by no oil.
So it was back to Scott at Recreational Motorsports. I got two new pistons, a gasket set and two new sleeves. We put her all back together again.
I did change the clearance on the RAVEs to 0.018". The race book suggests between 0.015 and 0.020". So I set them in the middle.
I also went to the next size smaller starter rope. That also helped a LOT in pulling it over.
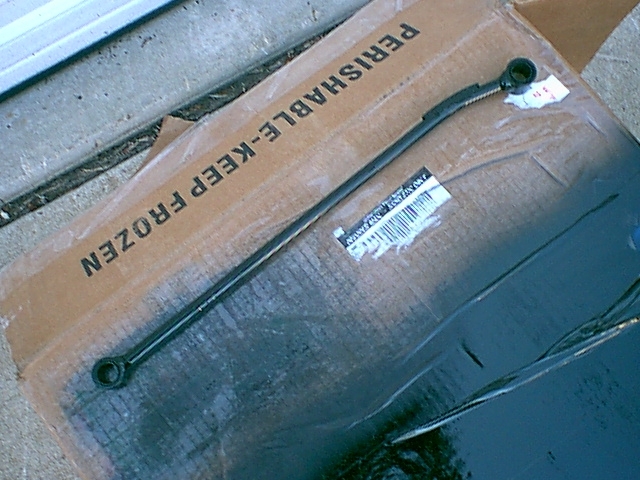
I put a different oil pump from my parts cabinet (of which I have included a picture). I then went through my regular routine of putting the motor in and pre-firing procedures. She has smoke now.
I guess I learned two things...don't short-cut from what you know works, and don't change brands of oil when firing up a new motor.
She now is ready for next winter. There will be a break in period of 100 miles, and then the cylinders will come back off and be rehoned and new rings put in. Then break that in for a 100 miles and she goes on the Dyno.
Once I find the power band, I can adjust my clutches to that.
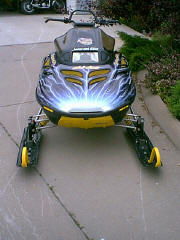
I included some items that I wanted to add after it was finished like the Powder Pro skis. As you saw in the pictures, I had a set of yellow Ski-Doo offset mountain skis. I also included the price of the REV gas can and rear bag. That was another $322 total. The second motor ran $567 with parts and machine work..if you could deduct the $889, it would have been under $4000. As it stands, the total cost to build came to $4739.
I also weighed the sled on a set of farm scales at the town I grew up in. We weighed my Jeep, trailer and sled. I then pulled the sled off the trailer and reweighed the Jeep and trailer.
The whole thing weighs in at 503 lbs with the oil tank full and about10 gallons of gas. Not great, but not too bad.
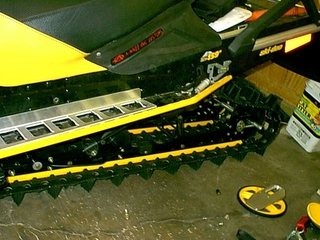
UPDATE: I have done some further modifications to the sled. This sled was made in 2004. It needed upgraded shocks, a new track, riser and Snow Eliminators. This summer (2009) it got all those upgrades.
This summer it got a 2.4" X 159" paddle track, new gearing, new shocks all the way around, ice scratchers, tunnel modifications, snow eliminators, 2" ROX risers,a new pipe high temp coated by Cool Concepts.
I had everything here and just need to get it in the sled. I had the track test fitted, and everything else done. I just needed to get it done. I wanted it all done before I have my new knees put in on May 20.
Here are some shots of the stuff I have going. I made some custom shocks for the skid and front. I can't wait until season when I can actually stand with the new knees and the mods made on Madness.
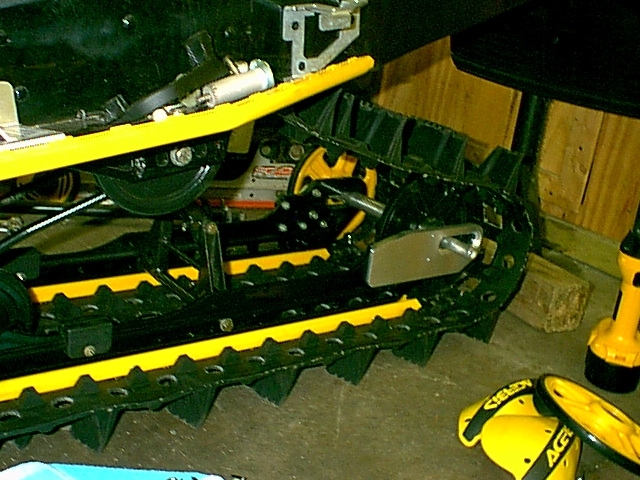
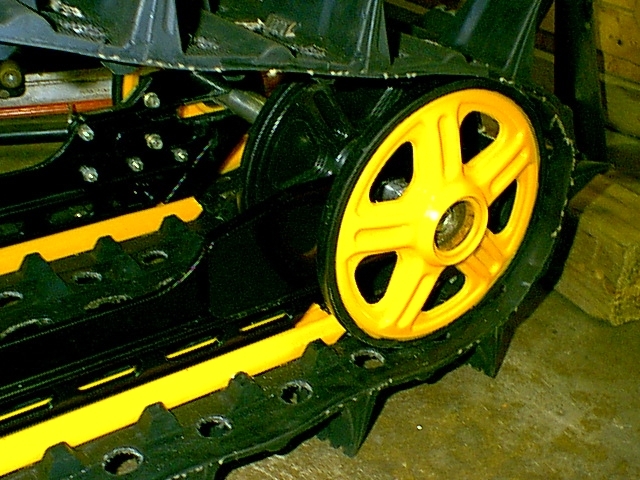
In order to fit the new taller lugged track, I had to change out the drivers from my 9 tooth extroverts, to 8 tooth extroverts.
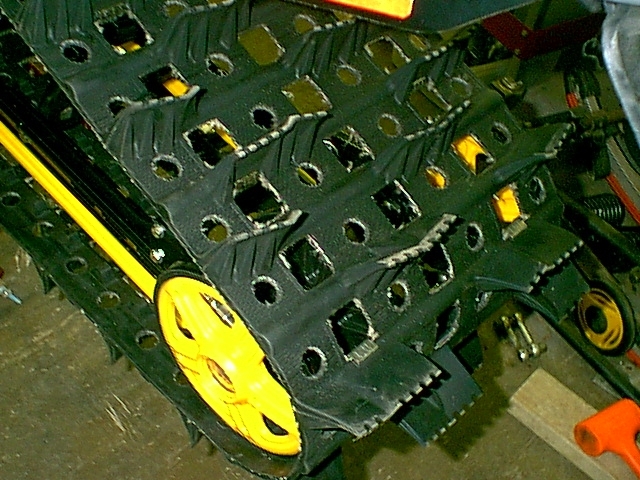
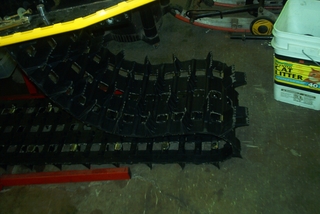
Here is the new track.
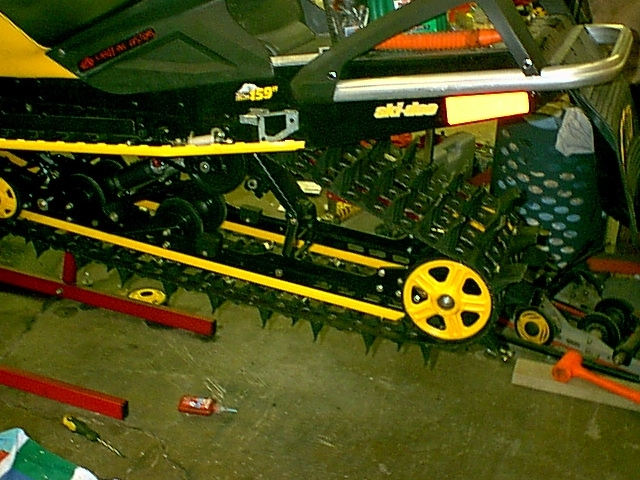
Here is the track installed, but you can see the port work done on the track.
I had to change out the drivers. I also took the time to center the drivers in the tunnel, as you can see.
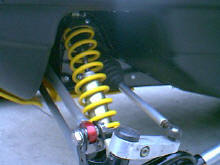
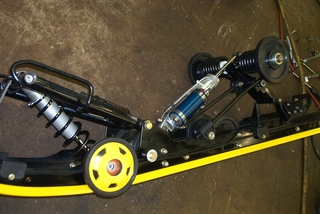
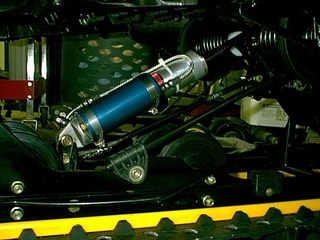
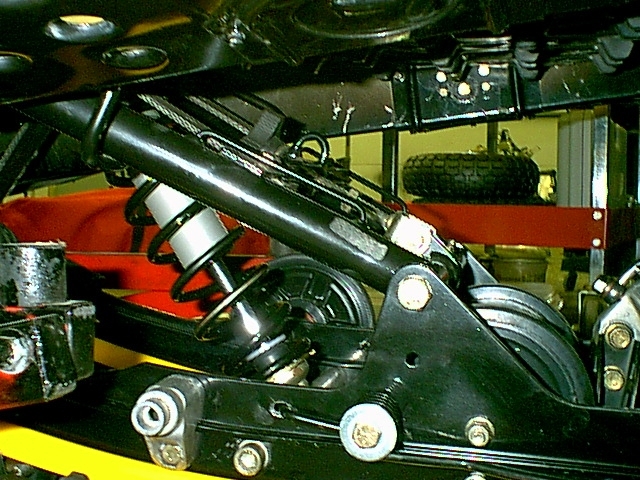
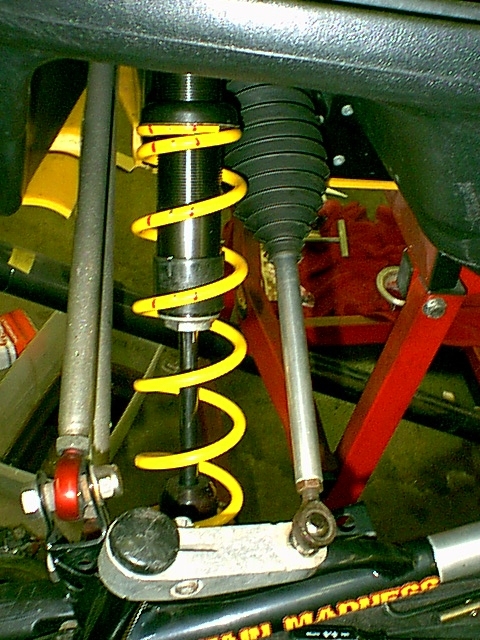
While the rear suspension was out, I decided to make some custom shocks for the rear skid. I made a custom adjustable rear shock from an HPG C-46 - "pop can" shock and a FOX Podium compression adjuster. I also made up a HPG rebuildable center shock. Both shocks are custom valved for my mountain riding style.
I also installed ice scratchers on the skid rail for low snow conditions.
In order to get the C46 rear shock to fit properly. I had to modify the throttle rod. It wouldn't clear the shock body as the Summit suspensions were never designed to fit that large of a body.
Here you can see themodified throttle rod installed and how it now clears the shock body.
Here is the new center shock with a 135lb spring.
I also changed the front arm angle. I had to have WildChild whip me a new set of extensions. I got those fitted up and powder coated black. Here is the process and finished product.
The next thing to get added was the ROX 2" articulating risers.
Next came the front shocks. I found a set of FOX ACT shocks and changed the overall length from 16" to 17.5". I also added FOXPodiums to the front with XP 105lb front springs.
My next upgrade was to machine a jackshaft and get rid of the Arctic Cat secondary, and Comet primary. Inow have a TRAIII with an HPV roller secondary. Igot ahold of Joey at Dynamoe Joe for a clutch set up. I actually made this change last year and ran it last winter in Island Park, Idaho. MAN!!! That kit really brought the sled to life. You HAVE to get ahold of him for ALL your clutching. The guy isgenius!
I also got rid of the twin pipes a couple of years ago. I went with a ZX chassis 800 pipe Summit pipe, and a y-pipe from a REV 800HO. I picked up4hp over the twins, and have a much more realistic powerband. I am also running an MBRP can that has been modified to fit my custom chassis.
I had them coated by Cool Concepts to keep them from rusting, and retained the stock heat sheilds.
Here it is installed in the sled.
My last modification was to add Snow Eliminators. They add strength and will allow the snow to fall from the running boards without build up. I had a set custom made for this sled. I have them in all my sleds.
I also had them powder coated by Cool Concepts with a black wrinkle finish.
Here are the steps taken to install the Snow Eliminators in your sled.