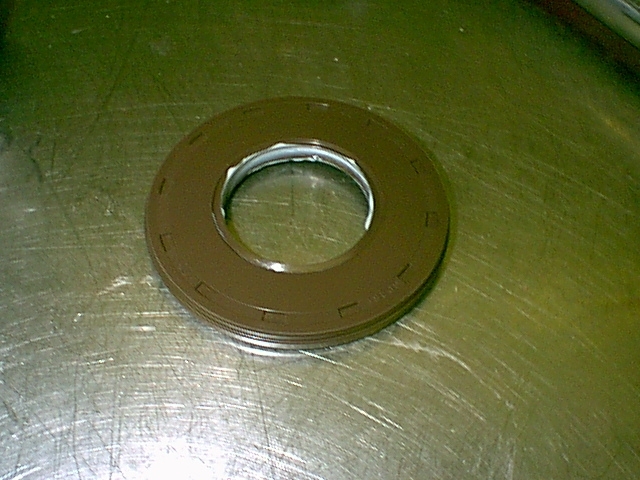
I again put ISO on the inside lip and installed the seal. I lightly tapped it into place with the rubber mallet and installed the end plate.
I again put ISO on the inside lip and installed the seal. I lightly tapped it into place with the rubber mallet and installed the end plate.
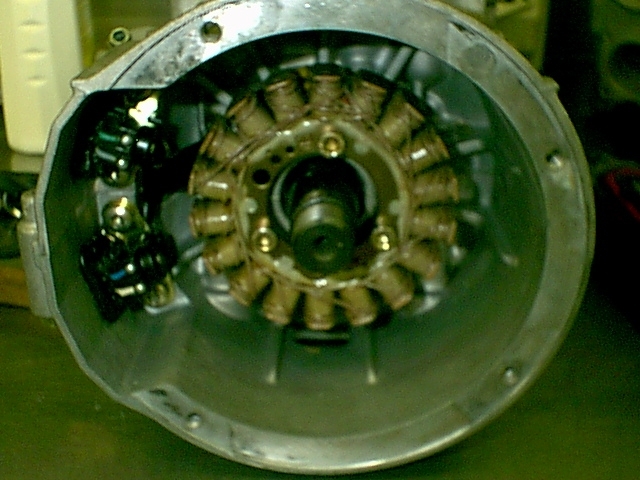
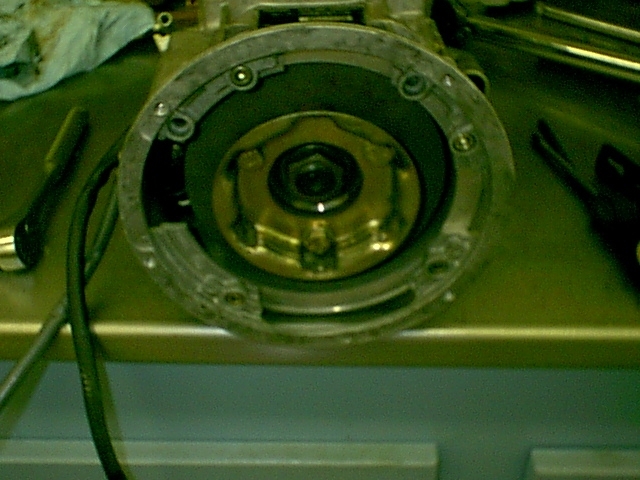
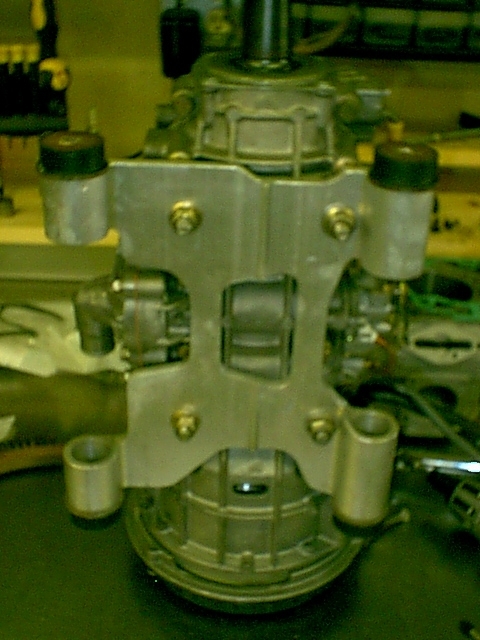
I put the MAG internals in next. It is easier to lock the crank without the cylinders on it so you can torque the MAG nut down. First was the magneto, then the pick-ups. The one with the blue wire goes on the bottom, and the green wire on the top. I used some more Right-Stuff to seal down the pick-ups.
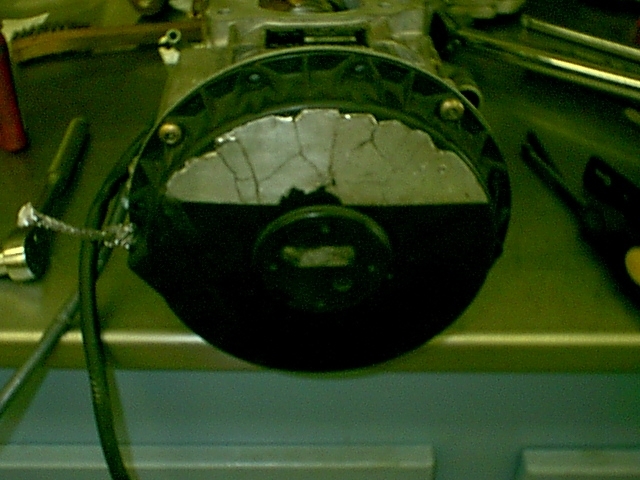
Now, I installed the flywheel, counter balance and starter pawl.
Then I put the recoil assembly in place.
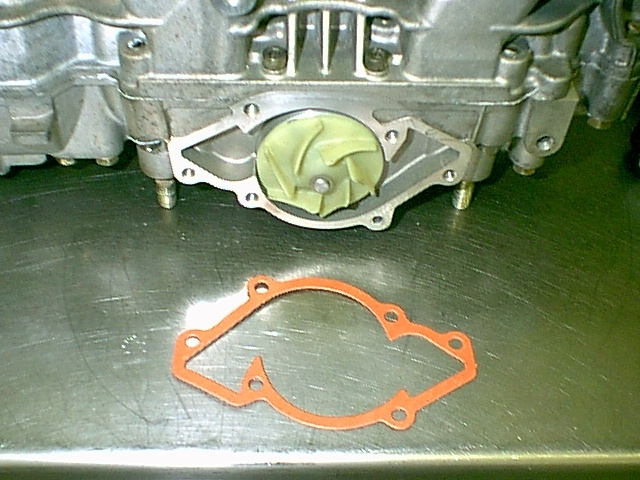
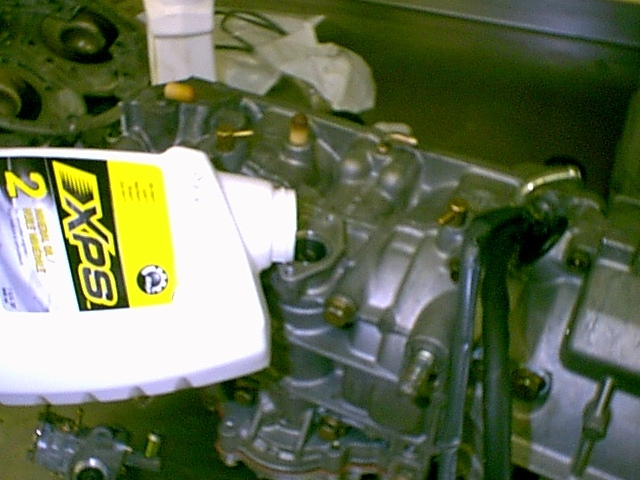
The next step is to fill the impeller shaft case with oil. I use only mineral oil in all my engines. I tipped the case on the side and filled it up.
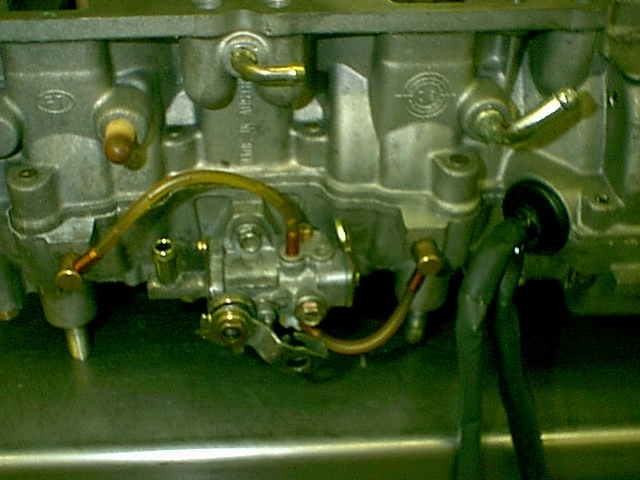
The next step is to install the oil pump that has been modified by bigwormskidoo05. He puts the roller bearing in the oil pump shaft to prevent it from sticking. I have in both my 800BB sleds.
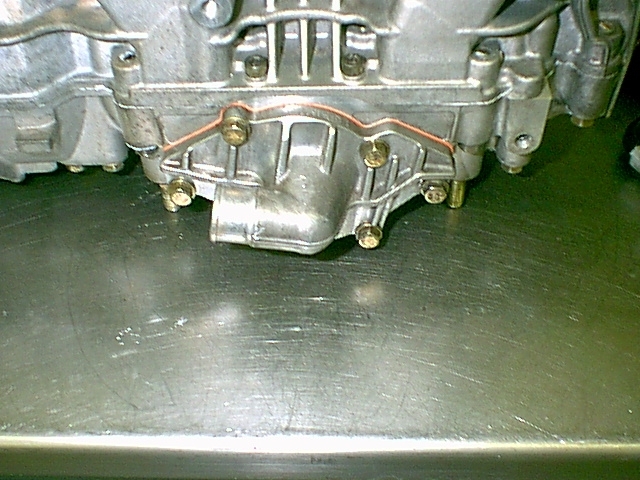
Then install the oil lines to the injectors, and the rubber grommet for the wires from MAG.
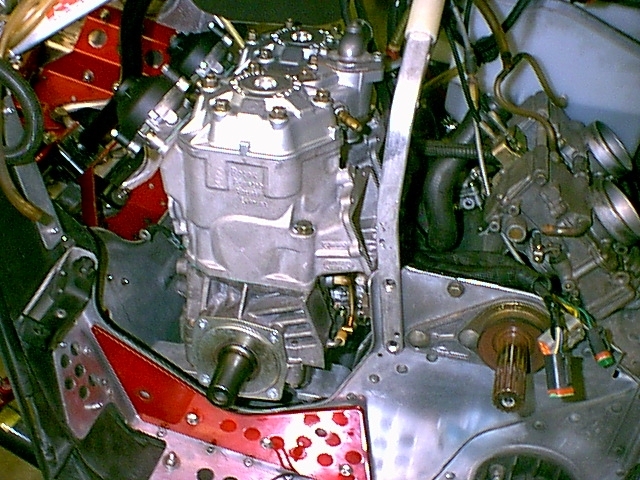
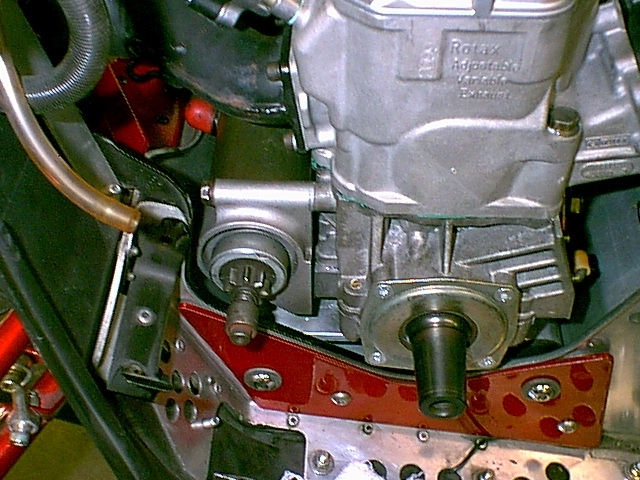
You can now install the engine mounting plate.
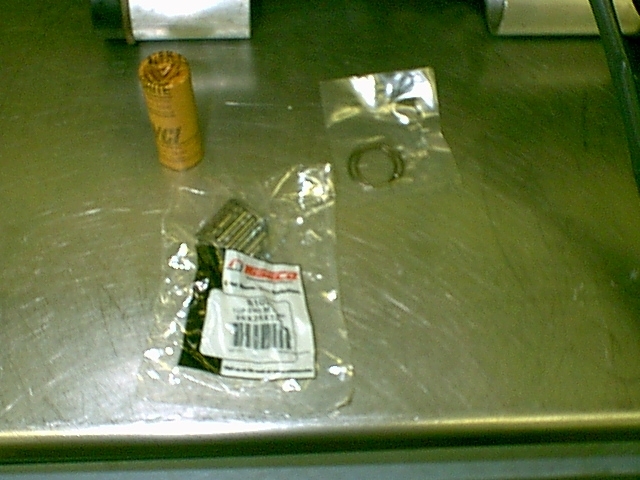
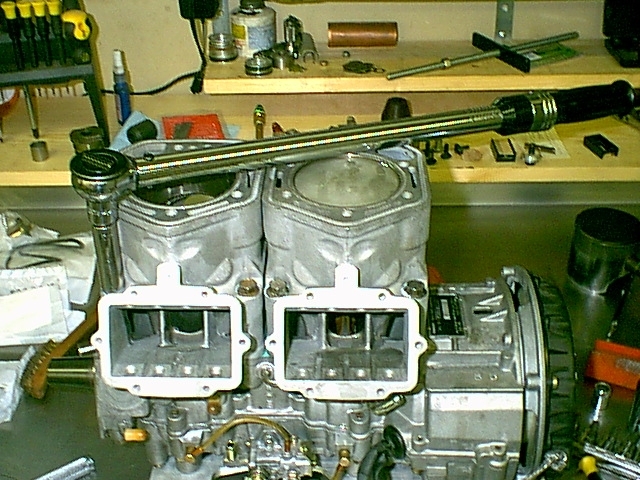
With the lower-end complete, you can now move to the top end install. I pulled the wrist pin and bearings and soaked them in mineral oil before installing.
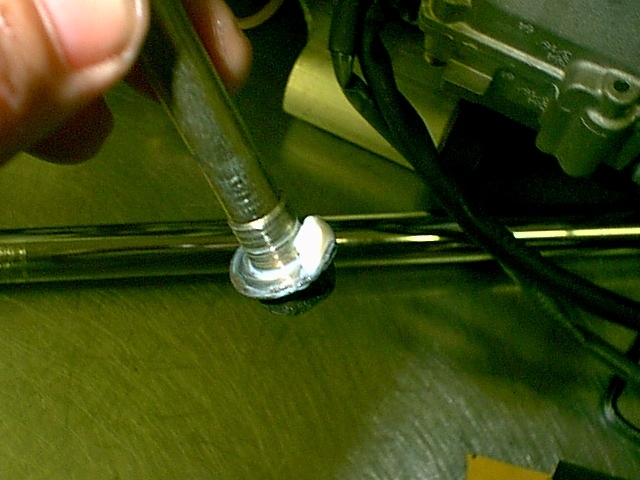
While the cylinders are off, it was time to check the piston ring end gap. Kelsey wants them set to .018" or greater. So I used a feeler-gauge of .018". It was just a tad larger, but that was fine so time to install the pistons on the rods.
Next is to install the pistons on the rings. This is pretty much straight forward. I install on circlip on the piston, then put the wrist pin in the rod end and just put the piston in place, line up the holes and slide the wrist pin into place. They have all be soaked with oil so there is plenty of lube in place.
I then put the rings on the pistons. All you need to do is make sure the ring end gaps line up with the pins in the pistons on this.
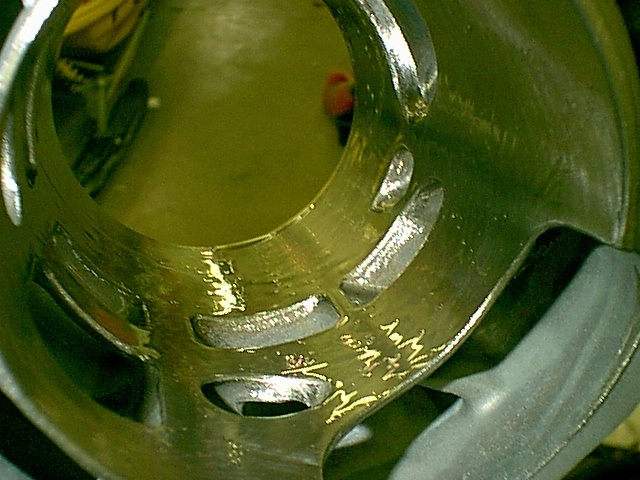
Next, I coat the pistons in oil. I move the piston rings around to make sure they are completely covered with oil. A lot of time I just dunk the top of the piston in oil with car engines, but it is hard (and messy) to do that with a 2-stroke engine as the rods are already in the engine. Now is the time to put the base gasket in place.
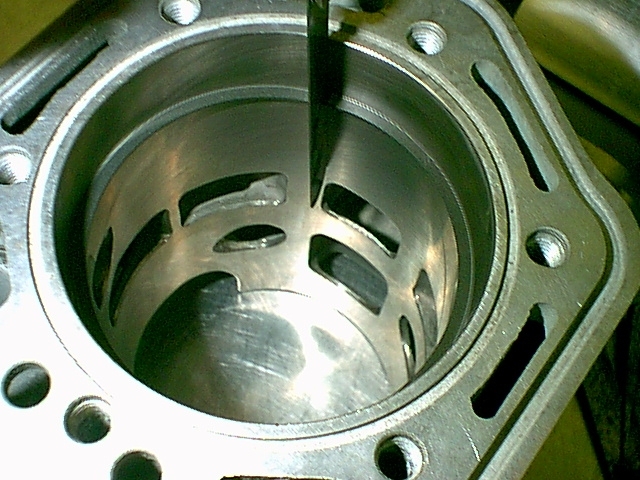
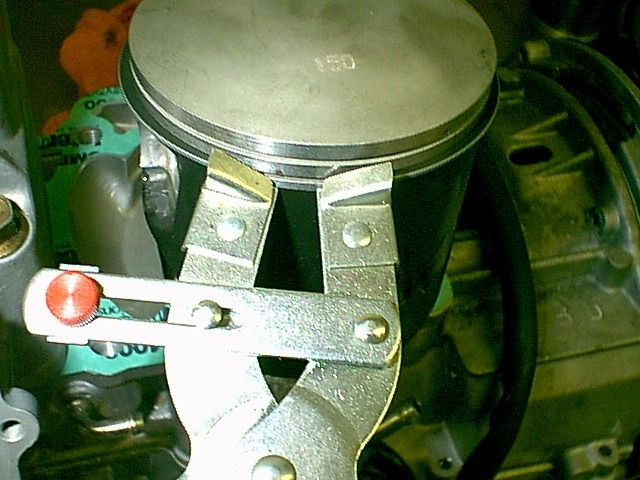
I then coat the inside of the cylinders with a liberal amount of oil before installing them. You can press the rings with your fingers, and then slide the cylinder into place. DO NOT force the cylinder into place. Make sure the rings are compressed fully, and it will slide into place.
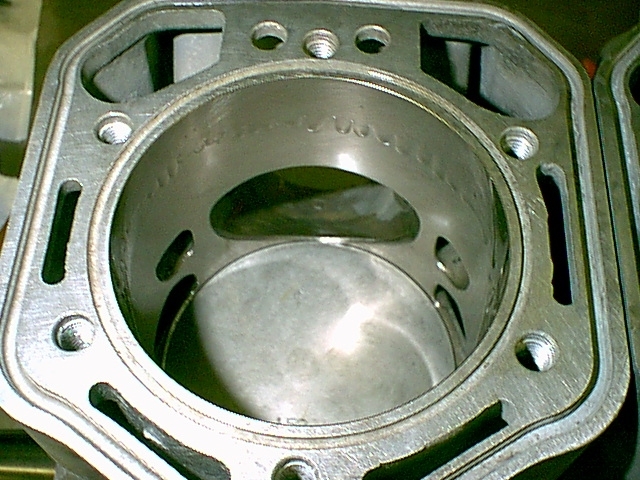
Here is the cylinder in place.
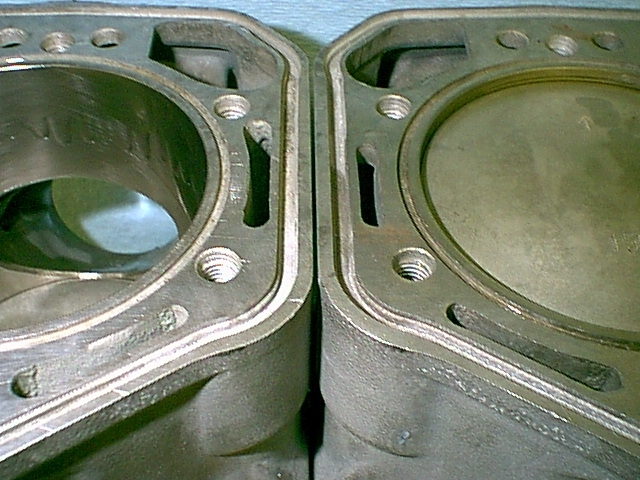
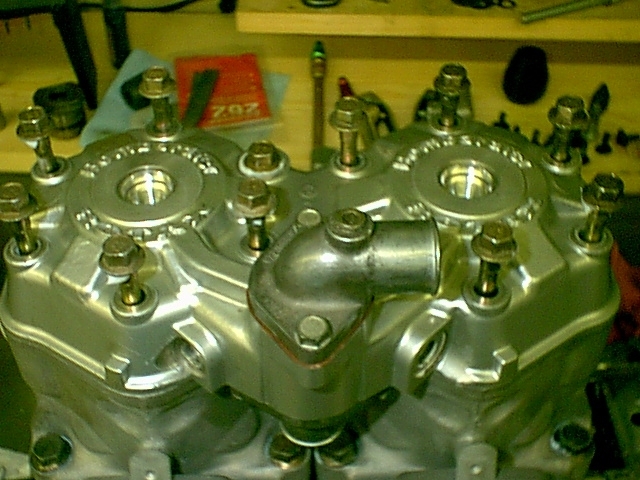
The next step is to bolt down the cylinders. It is crutial that the cylinders are the correct distance apart. Kelseys head drops down into the cylinder, so I put the head in place with no bolts. Then I put a a straight edge across the exhaust ports. Doing this assured the proper head distance, and that the exhaust manifold will be square when putting that on.
I then put some ISO on the bolts and tightened down the outside bolts enough to keep the cylinders from moving. Then I took the head back off and started the rest of the installation.
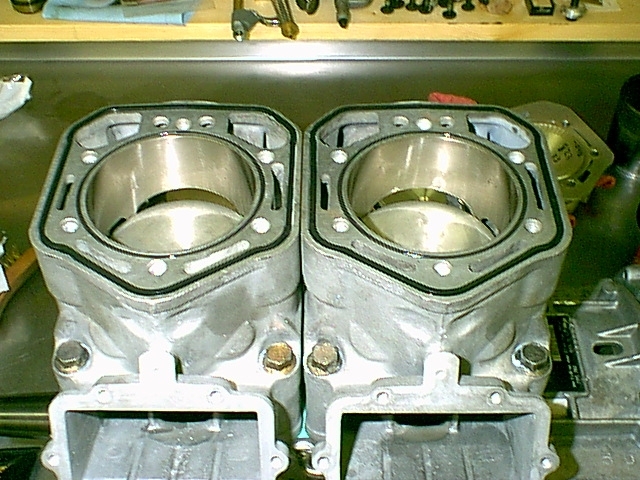
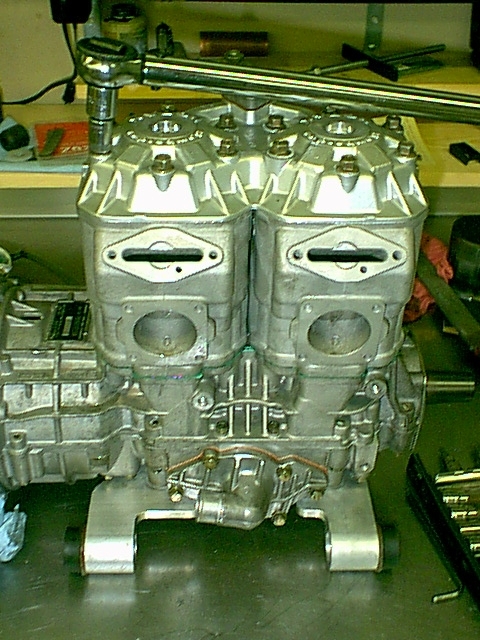
I torqued the cylinder bolts to 25ft/lbs first time around. Then went back over them to the final torque of 38ft/lbs. Then went back over them a final time.
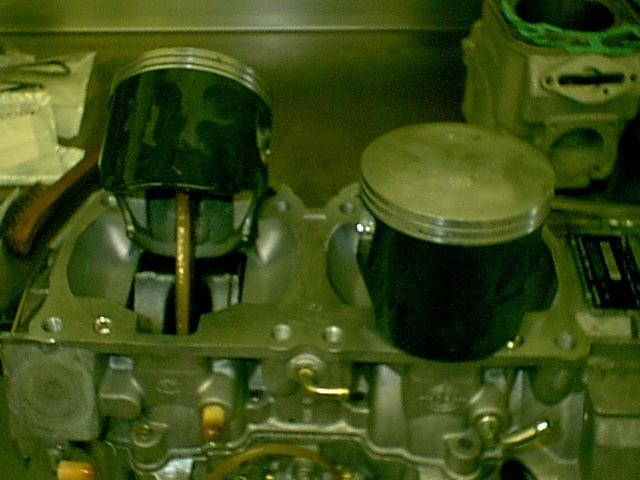
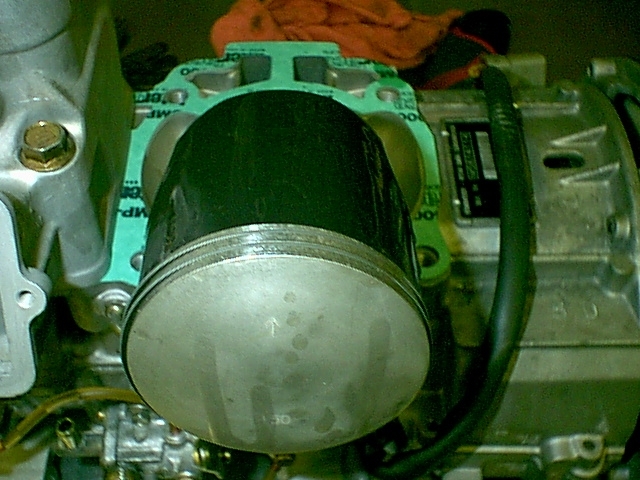
You can see the cylinders are parallel.
Here is a shot of the piston ABDC.
On the top end gaskets. I installed new O-Rings, both cylinder and head. I oil them. I prefer to not put them in dry. That prevents them from moving when adjusting and setting the head into place.
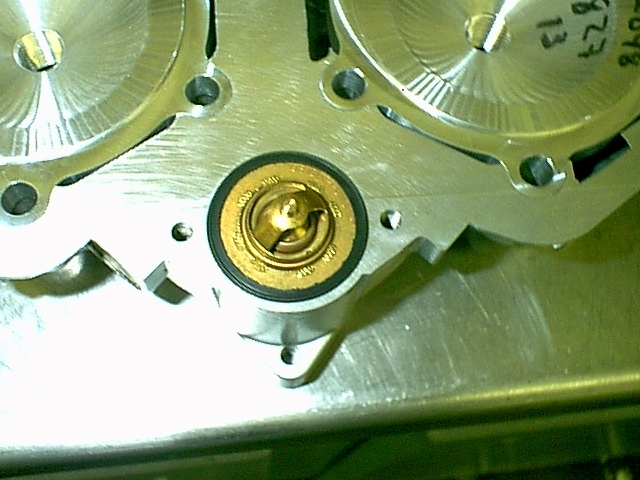
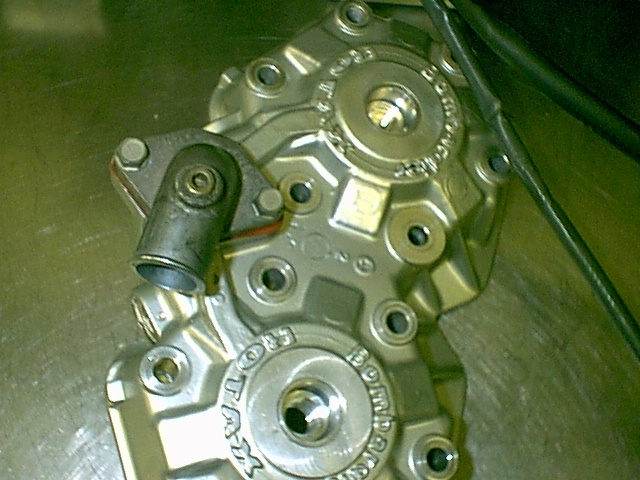
Now, I had to put the outlets on the RK Tech cheater head. I put the new T-Stat in place. Then put the the outlets in place with new gaskets.
The next step is to put the head in place, and torque it down. I dropped the head in place, and then put the bolts in (after applying ISO to the underside of the head). I first torqued them to to 15ft/lbs in a circular pattern from the middle out, then finished torquing them to 21ft/lbs, then went back over them to check them.
With the engine complete, it is time to install the RAVE valves.
I coated the RAVEs with plenty of oil, then coated the sleeves with oil and dropped in the RAVEs. Then installed the RAVE covers.
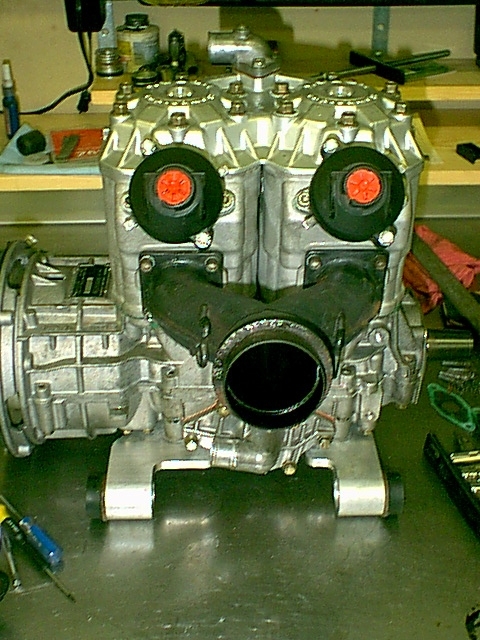
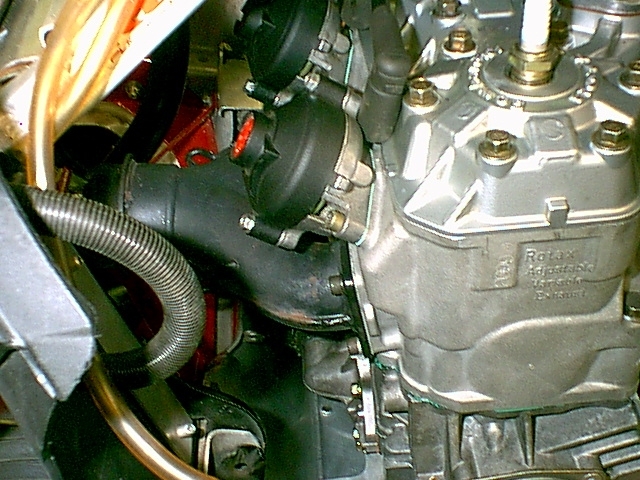
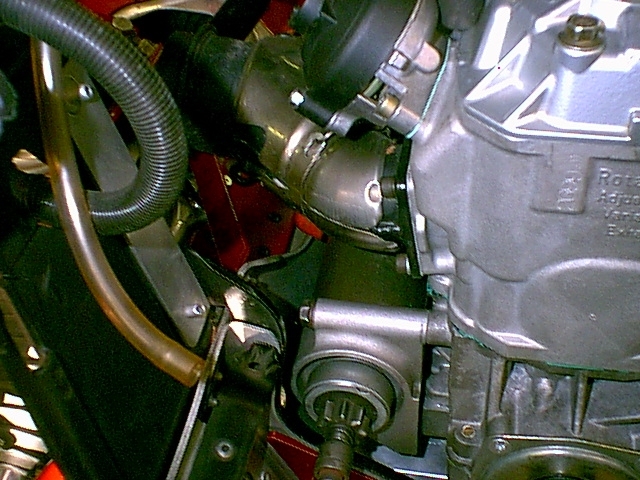
The Y-Pipe is installed on the engine. I use NordLocks on the bolts to prevent them from backing out. When I pulled this motor from the sled, I found 3 bolts under the engine that had come out. It was missing one again.
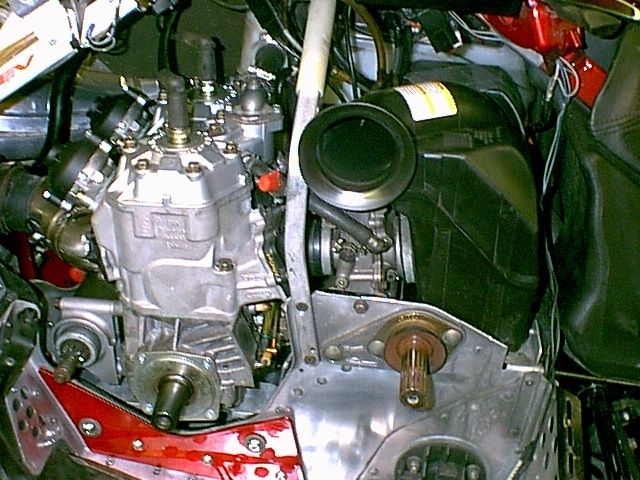
Here is the complete motor, ready to drop in the sled. I am going to clean out the engine bay and hopefully have it in the sled this week, and finished up before next weekend.
Big day in the shop today.
After spending all morning getting yesterday's work posted, I went back to work in the shop.
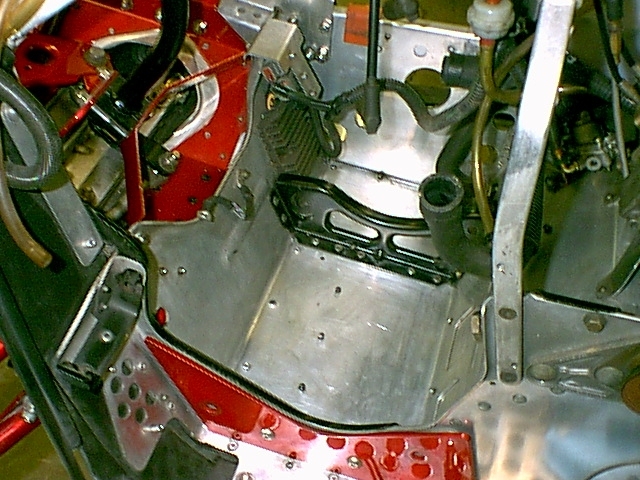
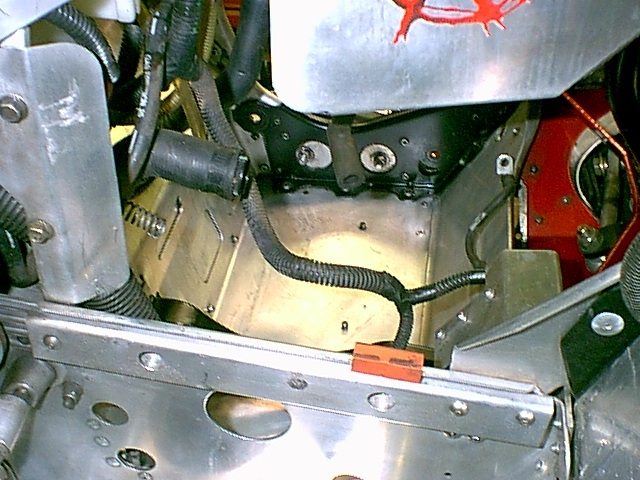
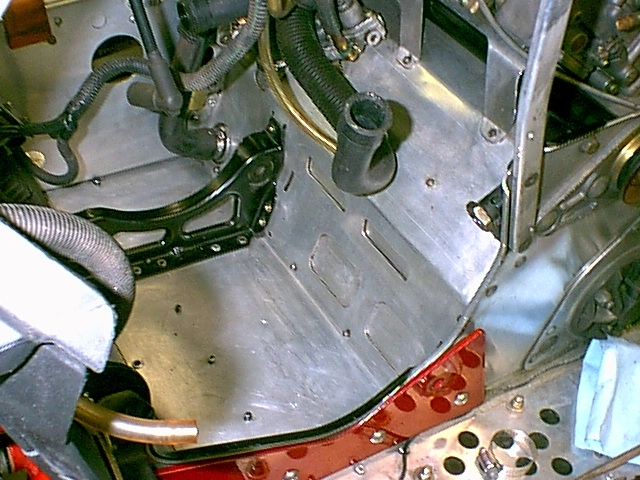
I cleaned up the engine bay area, and surrounding.
Once the bay was cleaned, I dropped the motor in place
Once the motor was dropped into place, the oil pump was hooked up and primed.
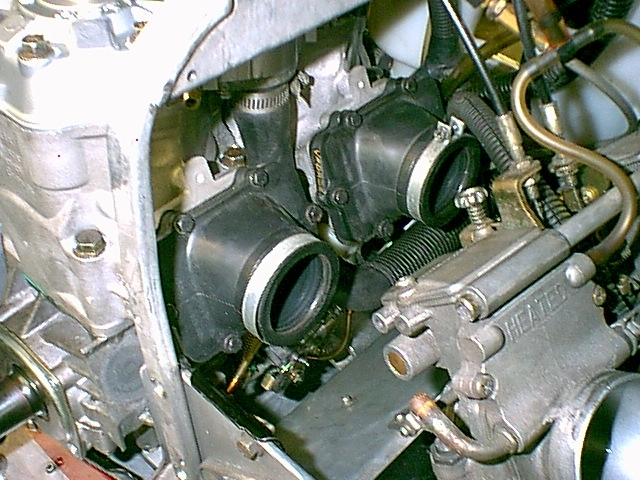
Then it was time to add the reeds. I am re-using the V-Force 3 reeds. I am hoping that by the time the snow flies, I have a set of Boyesens. Perhap at Hay Days.
Next was to add the Y-Pipe. I used Nordlocks to secure the bolts in place.
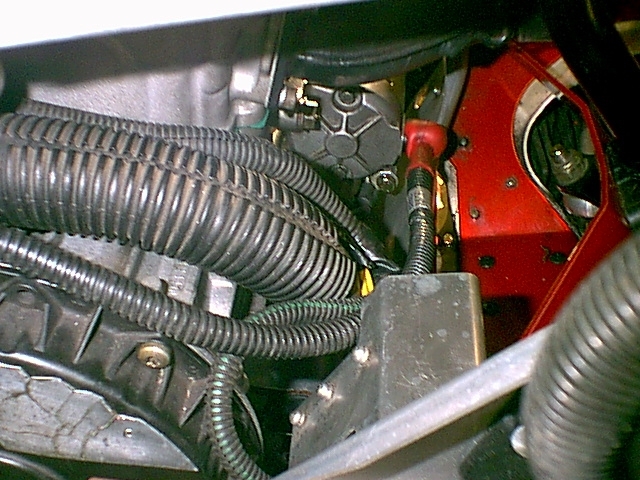
The next step was to add the starter and connect the wiring.
The next thing was to put the heat shields on the Y-Pipe.
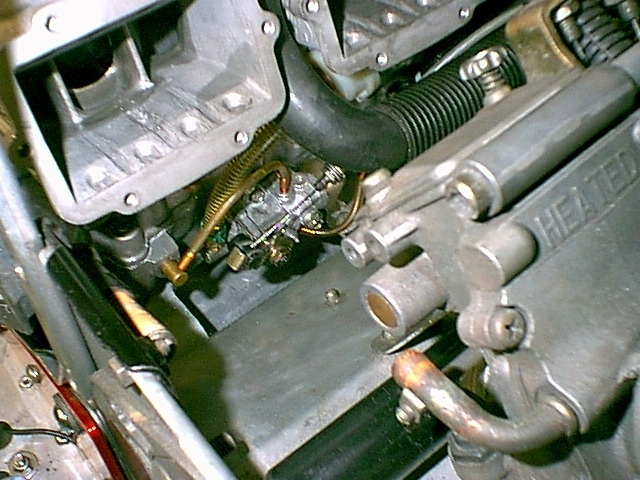
Next came the carbs. Kelsey recommended starting at 390 jets and richening up the needle valve. I added a shim to my needle, and left the 400's in from my previous settings.
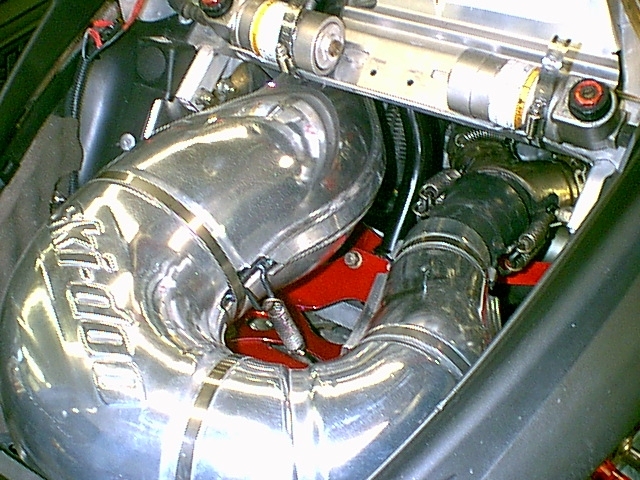
Here is the carbs and the air box in place.
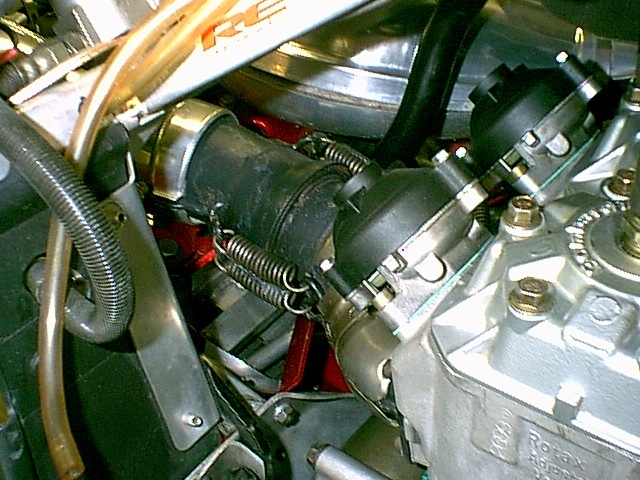
Now it was time to add the exhaust back to the engine. I added the pipe and muffler. I also put black Permatex sealer on the springs to keep them from making noise.
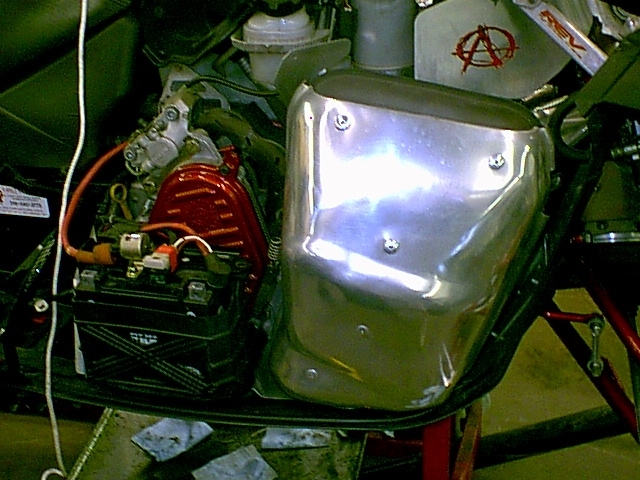
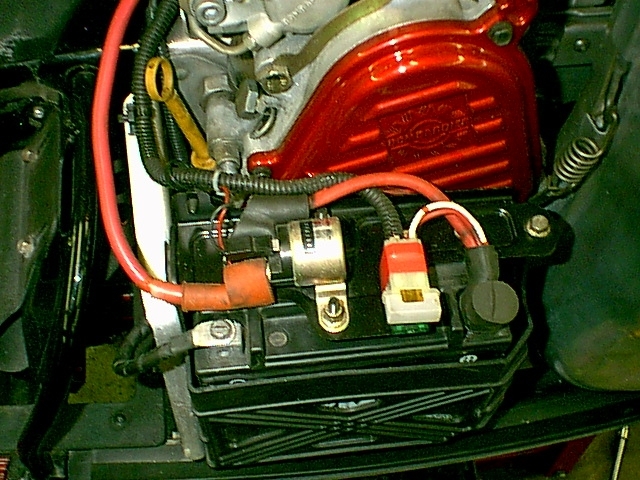
Next came the battery hook ups, and put the cover on the battery.
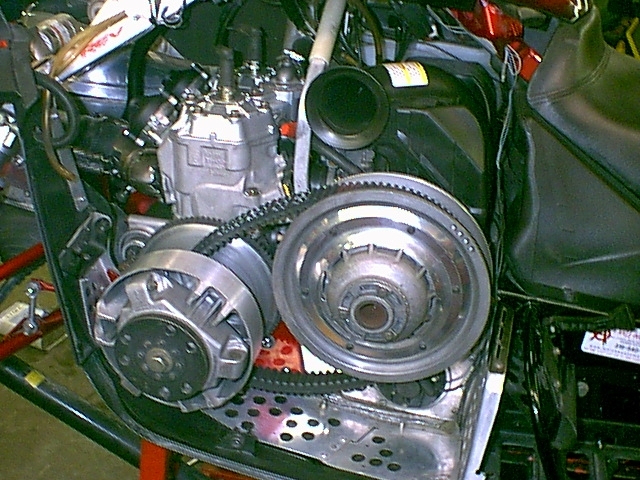
The only thing left was to put the clutches back on. I torqued the primary clutch to 78ft/lbs. The secondary has a floating secondary.
The last thing left to do was to put on Rob Zombie's Dragula, and fire it up. It turned over a couple of time to fill the float bowls and started right up. I ran it for a few minutes to prime the oil pump until it started to smoke alot then let off the lever.
I then added some oil to the gas and she is ready to go. I will heat cycle the engine a couple of times then add the coolant and burp the system. All I have left to do is to put the body panels back on and she is ready to roll.
I am not sure when I will get the dyno sheets done on this. I would like to get the motor broken in before I thrash on a dyno. So, it may be winter until I can get that done. I will get the dyno sheets, though.