I just got back from Cool Concepts to pick up another load of powder coating. I also got the new ball joints today.
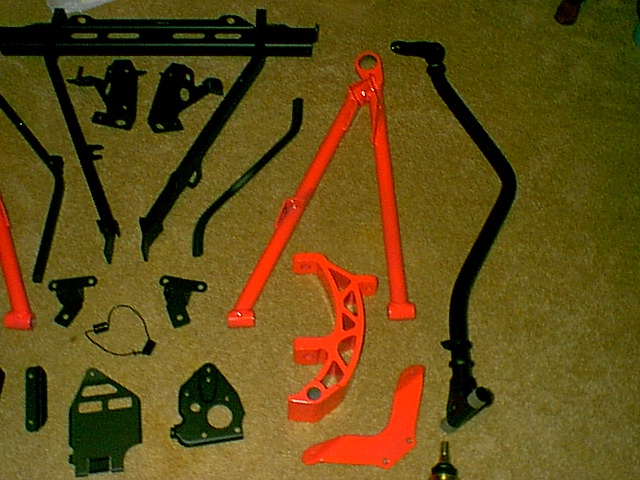
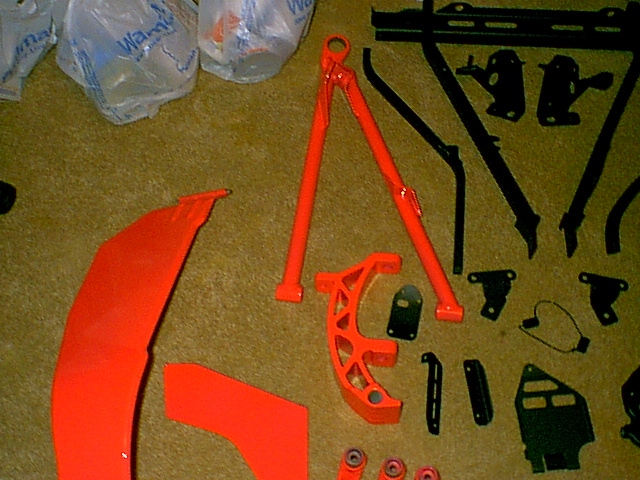
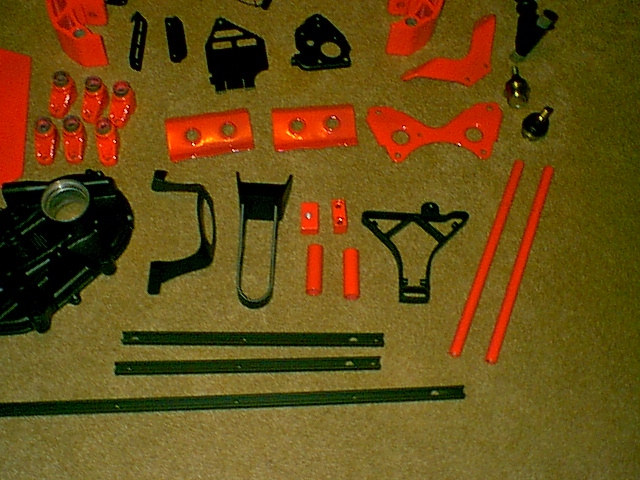
Here is the latest load:
Wow! Has it been two weeks since I last worked on this? Man......time flys....
I have been extremely busy with customer's so not much time to work on this project. Customer's are ALWAYS first.
I got caught up on shocks, and had a few hours to work on this project today.
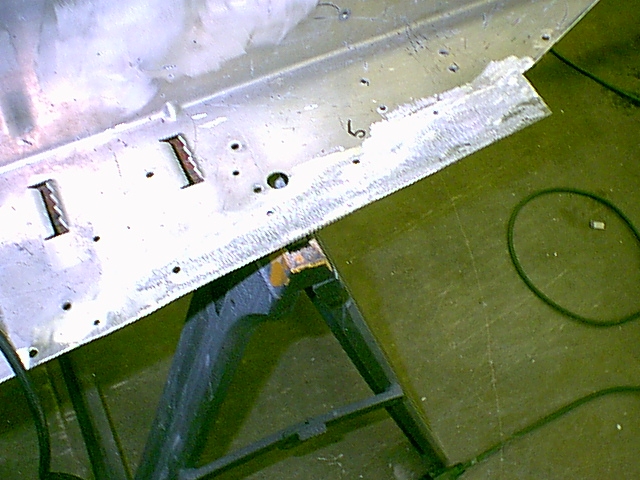
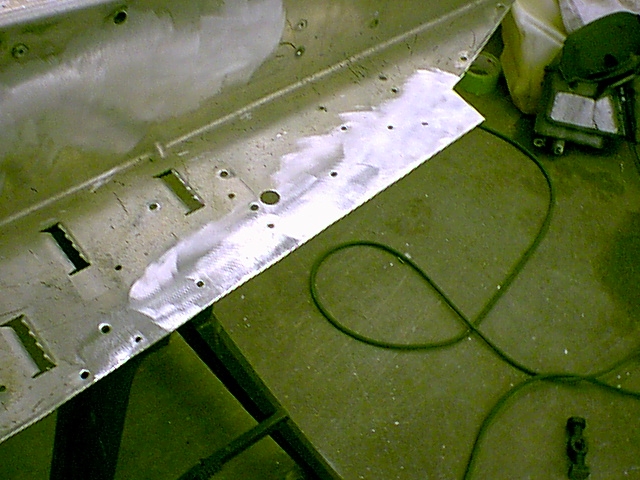
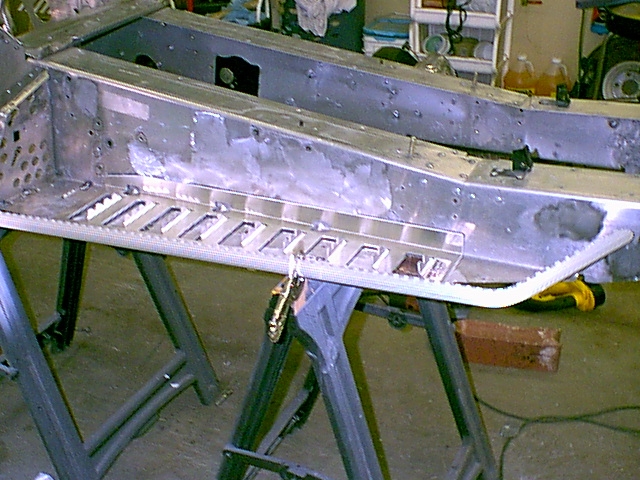
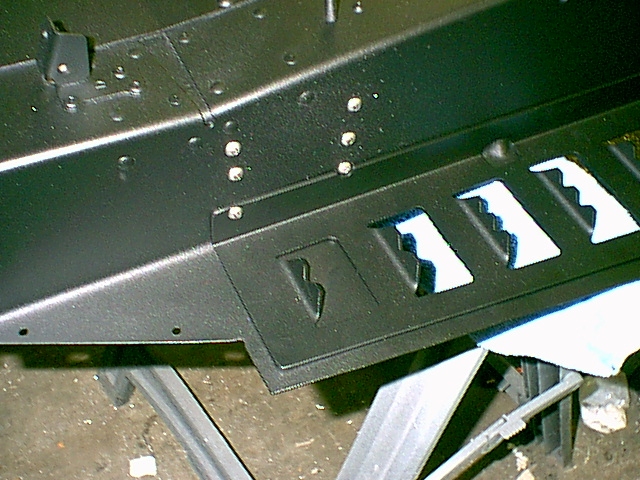
I got the welds all ground down and smoothed out. Here is the rough-in with grinder:
Here is the finish with the finer grit wheel:
Here is the reason I made the running board wider. Well, that and I wanted them wider. They fit the over-sized Snow Eliminators perfectly. I had Terry cut tem this way, they are the same as my previous mountain sled project:
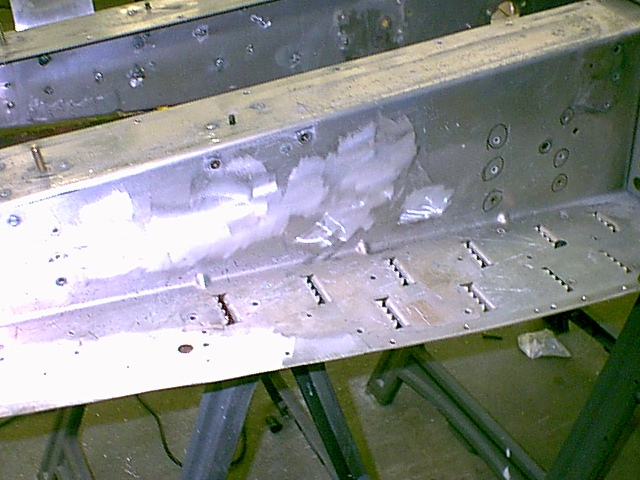
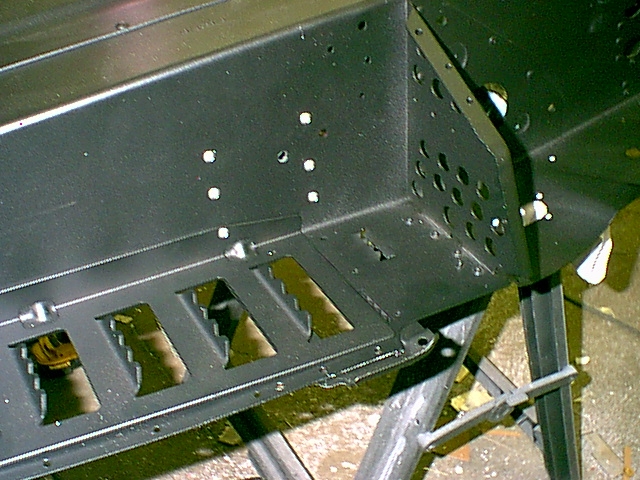
Here is the same treatment to all the holes welded up in the side of the tunnel:
After soooo much stuff being torn up and all the welding that was done, I wanted to make sure that everything still fit properly. It does...SWEET!!!
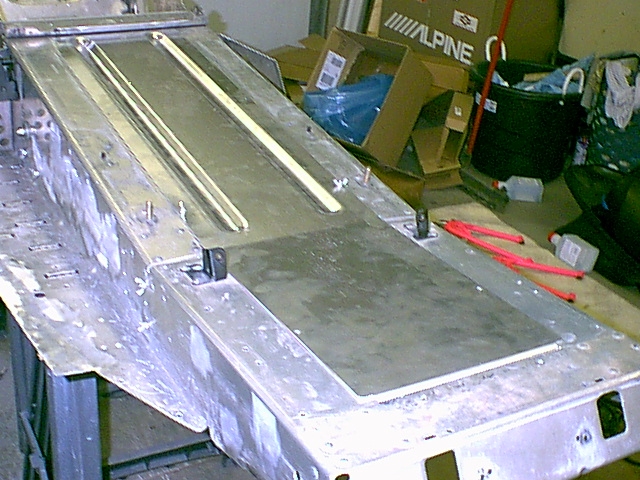
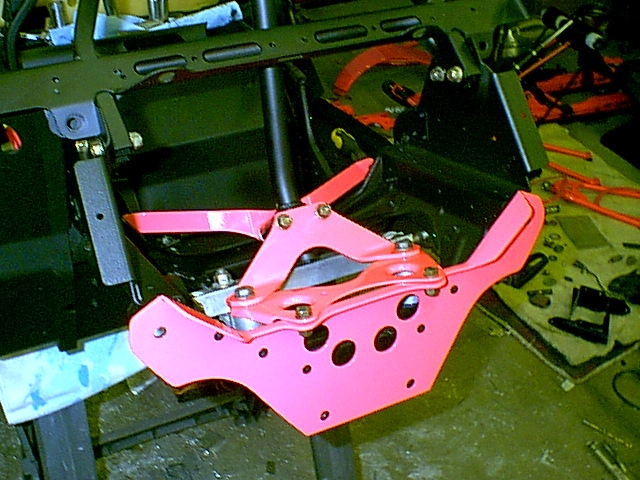
This is the footwell/front axle support in place, along with the footwell brace and 440 brace. They all line up perfectly:
They don't make the center piece for the 550X any longer (I have no idea why) so I had to order one from a different model and modify it to work.
I sheared off about 3", then put it on the break and put a butt overlay bend in it. I then trimmed off the edges and it fits perfectly. Piece o' cake...
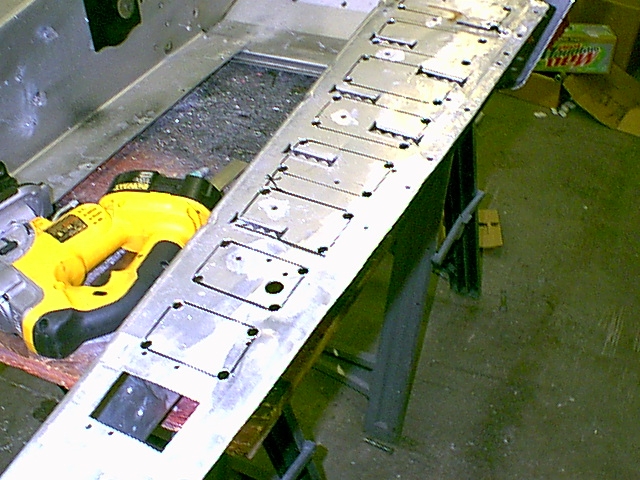
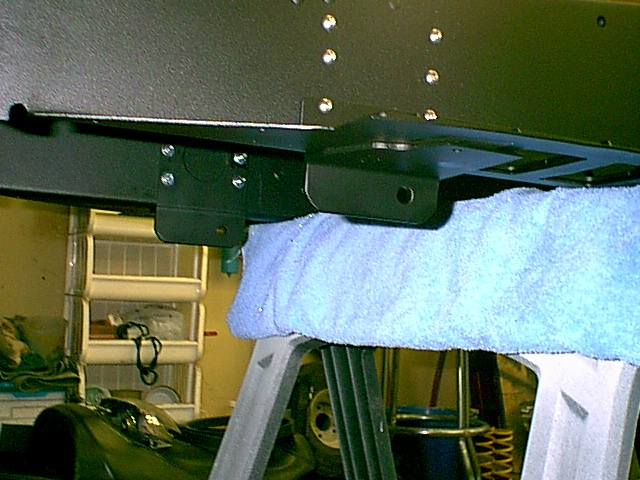
I then laid out the VanAmburg edge rails and fit those in place. I need to mark up the rear mounting plates and then weld those.
I decided to mount these a little differently. This way will give them even more strength.
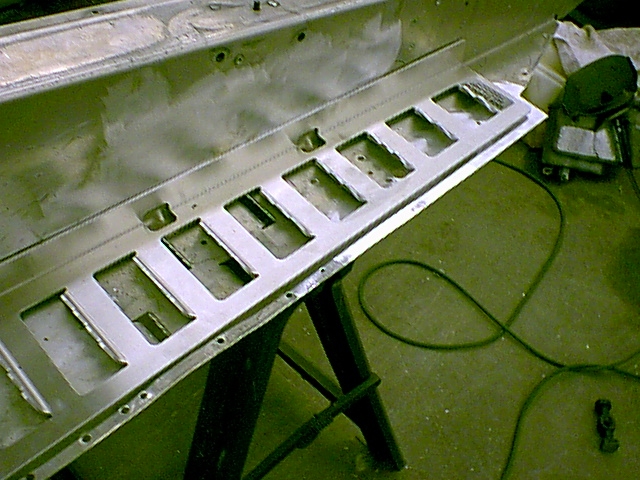
I marked them out from the top, then drilled the corners. Then flipped the tunnel over and used a larger drill to allow for the jigsay. Then I cut each hole out, instead of one big hole for the whole board. I thought it would take a long time, but it only took about an hour to both sides.
This week, it will go back over them and clean them all up.
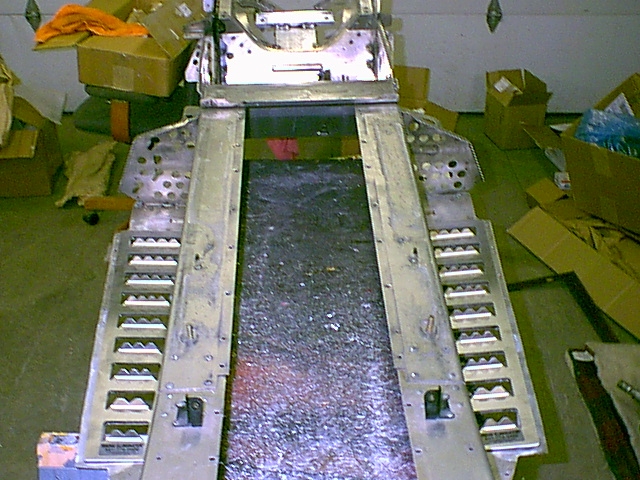
Here you can see how it all fits together.
Here both sides are done up ready for the finish work. Now that everythin fits, it is just the clean up sharp edges an rivet the center support, footwell supports and drop brackets then off to sandblasting and powder coating.
WOW! What a shock season so far. Thanks to everyone who has sent there stuff in already.
I haven't had much time to work on the wife's sled with the shock business being in full swing.
I got a little lul today, and took today of work from Toyota to work on the wife's sled.
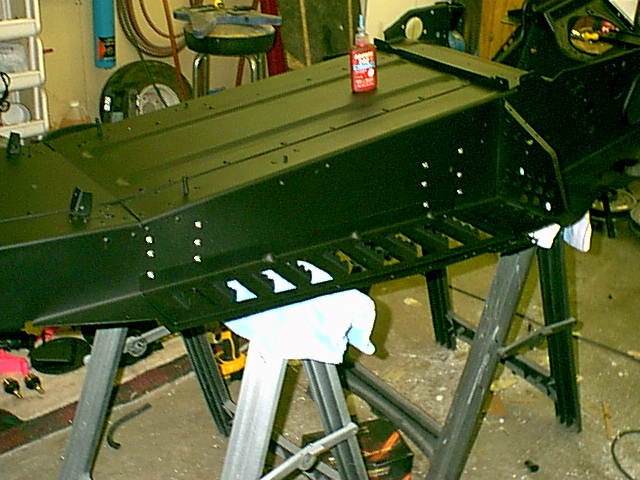
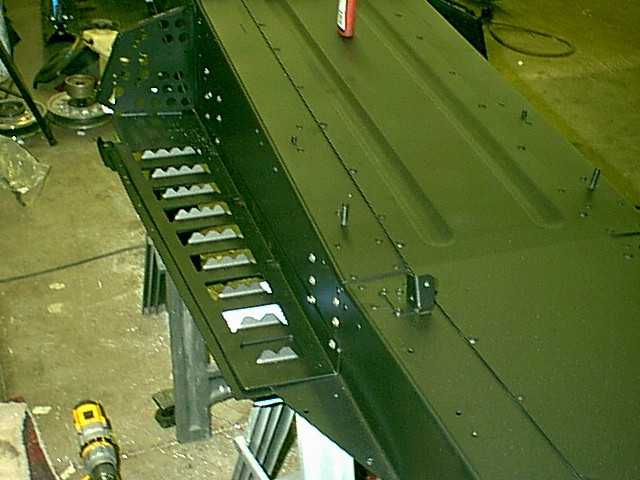
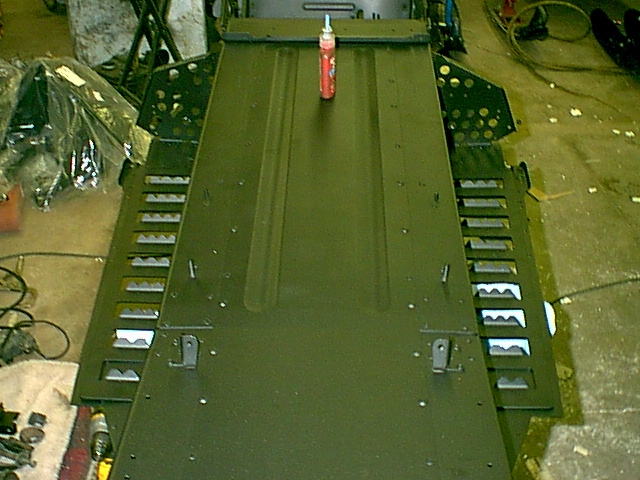
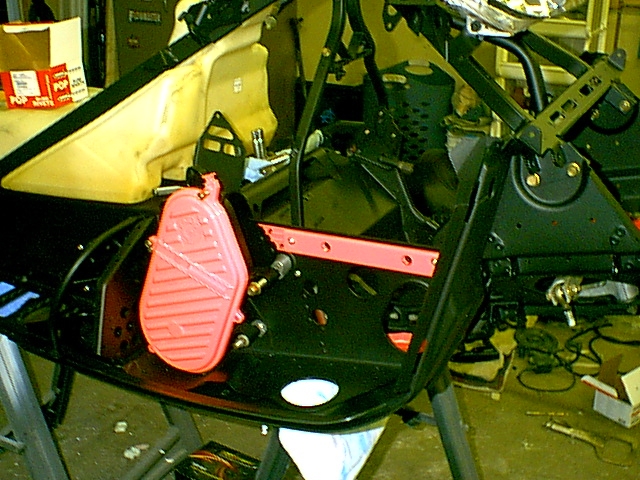
I got the tunnel back from powder coating. It got a polyurethane micro-tech flat black finish. It is kind of a mini-wrinkle finish.
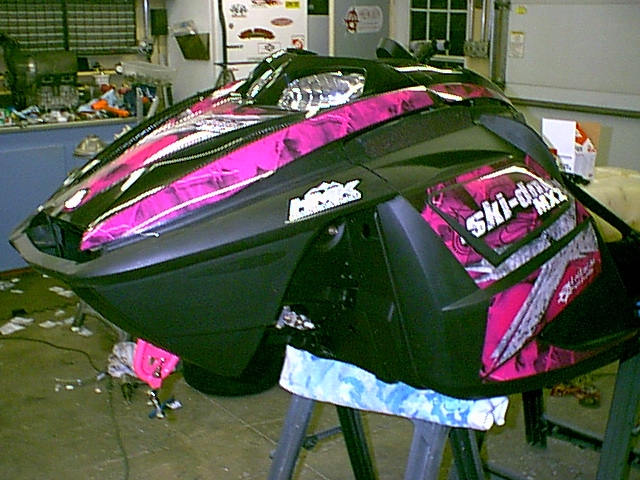
Here is the tunnel with a couple of the pink things on it to show how it will look.
So this weekend I can start to reassemble the sled. Once I get the running board on and the drop brackets bolted on, I can mock up the VanAmburg edge rails and get the final load to powdercoating.
-----------
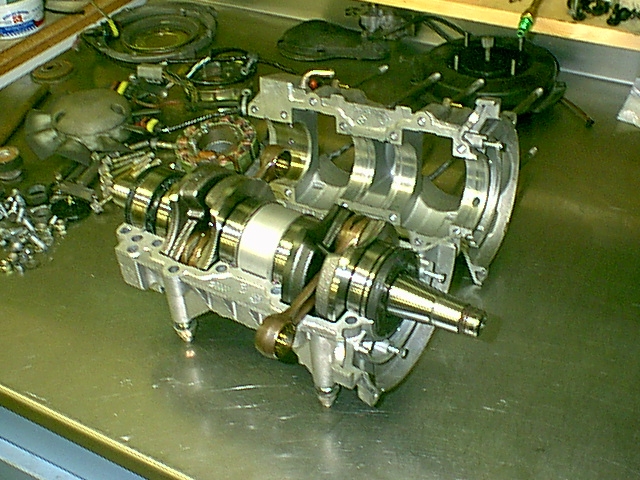
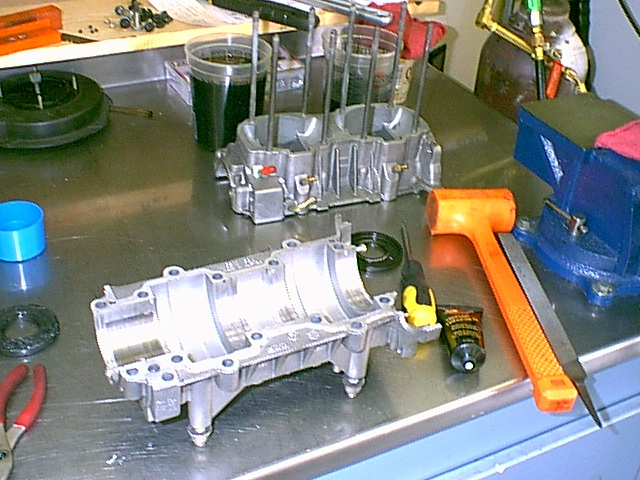
I also got the motor back together and ready to drop back in the chassis.
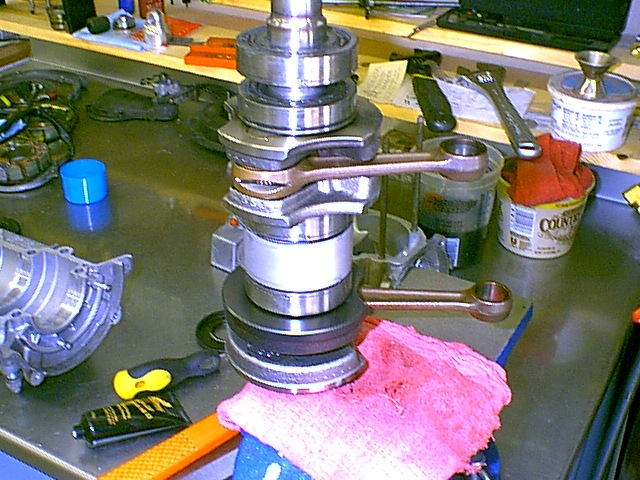
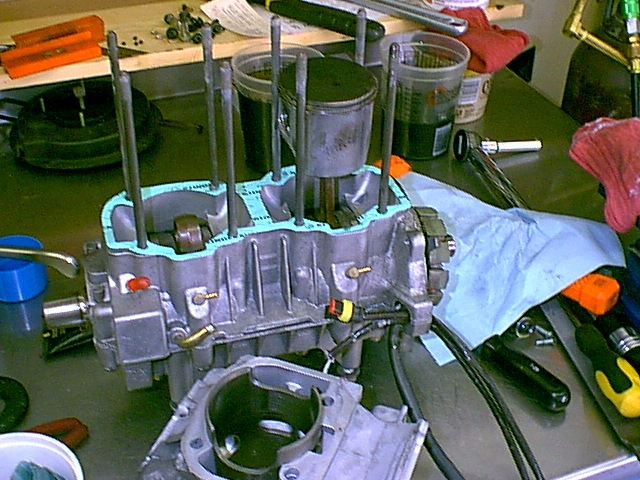
I have the cases split apart and cleaned the crank and deburred the cases and rounded any sharp edges to avoid stress cracking. I do this on all my motors when they are apart.
Then I take a rag with carb cleaner and give the crank a once over.
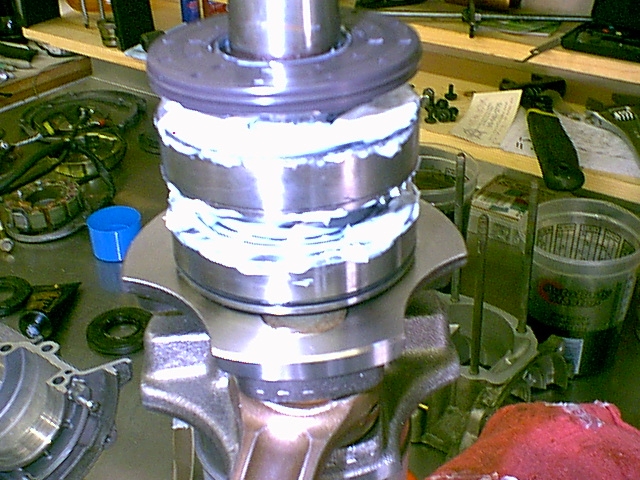
Once the crank is all cleaned up, I loaded it up with ISO grease, put some grease on the seals and installed both crankcase seals.
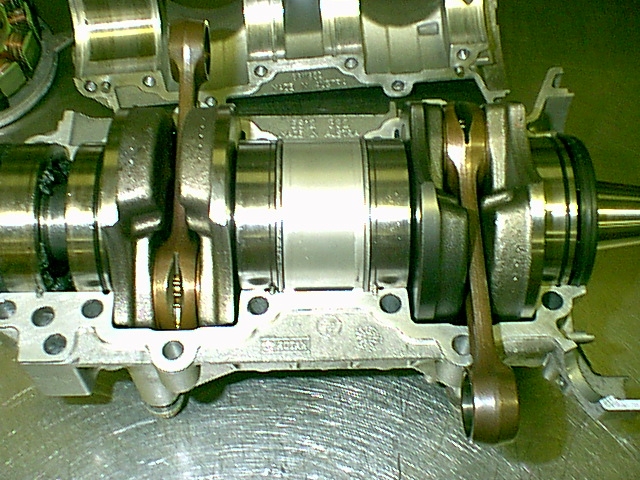
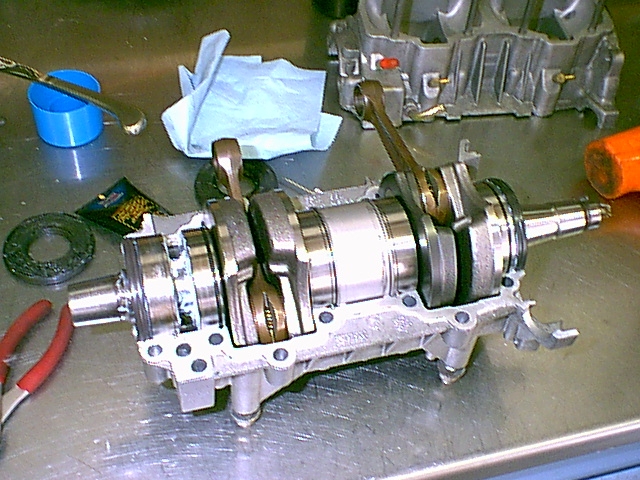
Once the bearings were packed and the seals installed, I then laid down a small bead of 3-Bond sealer to the case halves and put the case together.
I almost forgot, on the 550F motors, you have to put the ignition pick-ups and stator lead in when you put the case halves together. Unless, you want to pull the connectors apart, the connectors will not fit through the opening when the two halves are together.
I just put them in place to avoid pulling all that stuff apart, marking where the wires go and then putting it all back together.
Next was time to install the pistons on the connecting rods. Once the wrist pin was in place, I reinstalled the circlips and dropped on the 3 hole gasket. This is the same thickness that came off the sled. Once it is all back together, I will still recheck the quench gap.
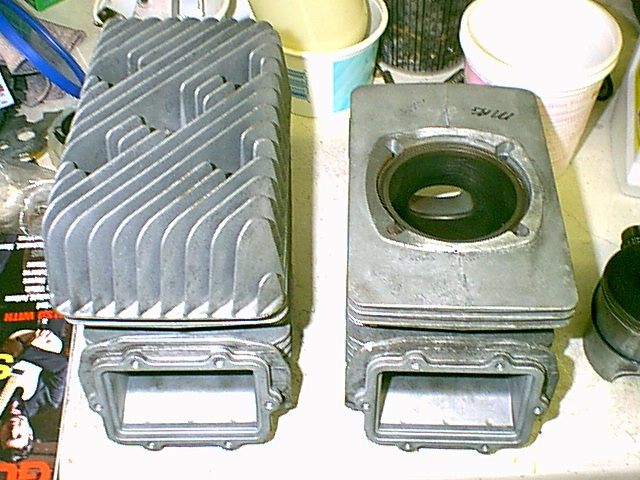
Next came compressing the rings and dropping the cylinder in place.
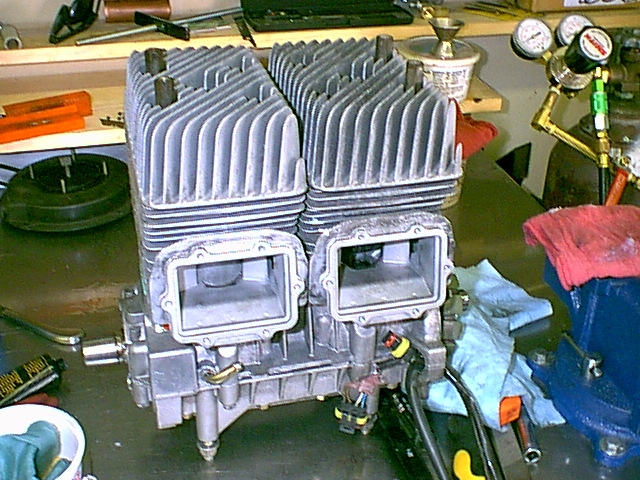
After both sides were on, it was time to put the upper O-ring gasket in and drop the heads on both cylinders.
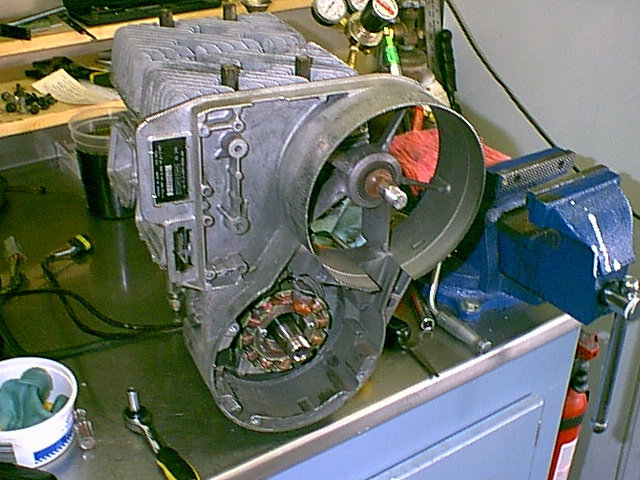
Now came the fan housing, fan support, stator and ignition pickups.
Next was to install the fan pulley and starter pawl.
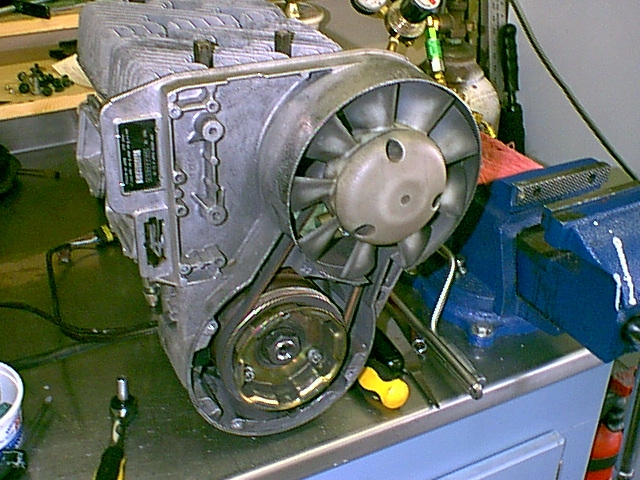
Then comes the fan belt, fan pulley and fan.
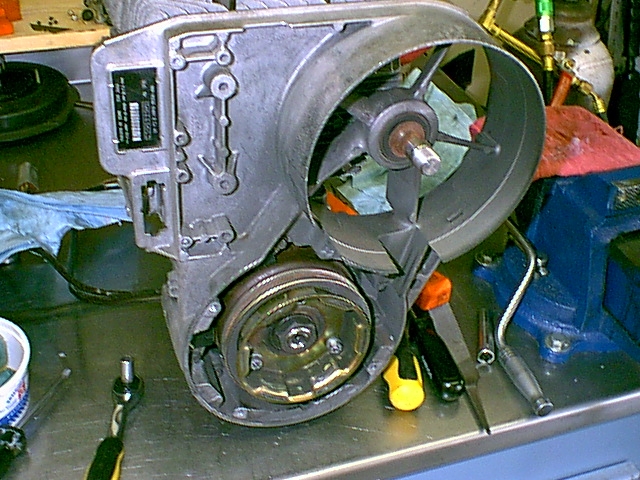
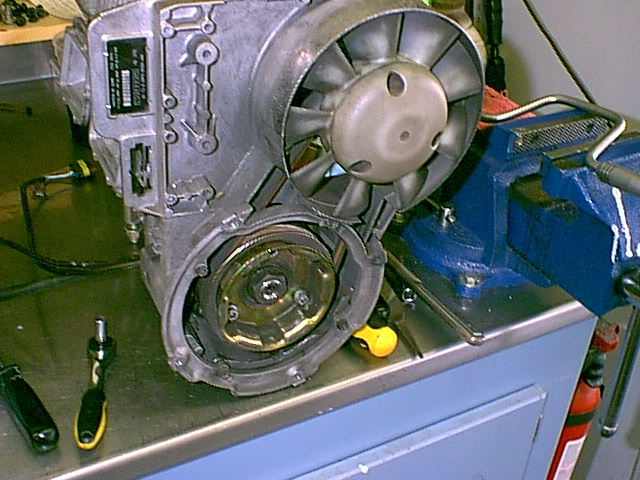
next comes the adapter ring for the recoil and oil pump.
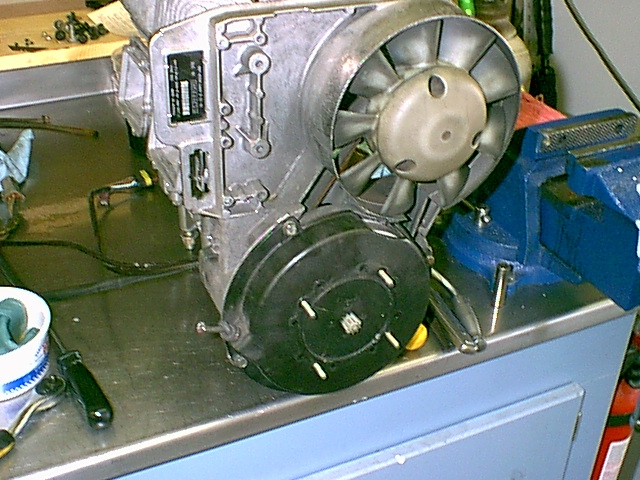
The next step is to add the recoil. You have to make sure the oil pump drive gear is seated into the end of the crankshaft.
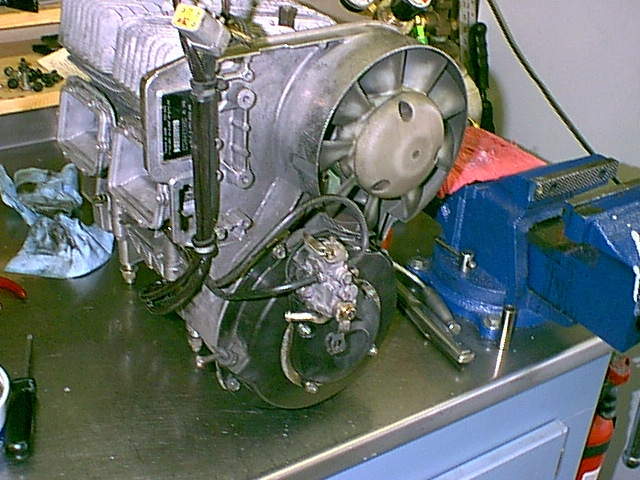
Now I put the oil pump on, you have to spin the crank a littl to line up the gears, then connect the oil lines to the case ports, put the rubber plug in the case for the electrical leads and bolt the leads to the fan shroud.
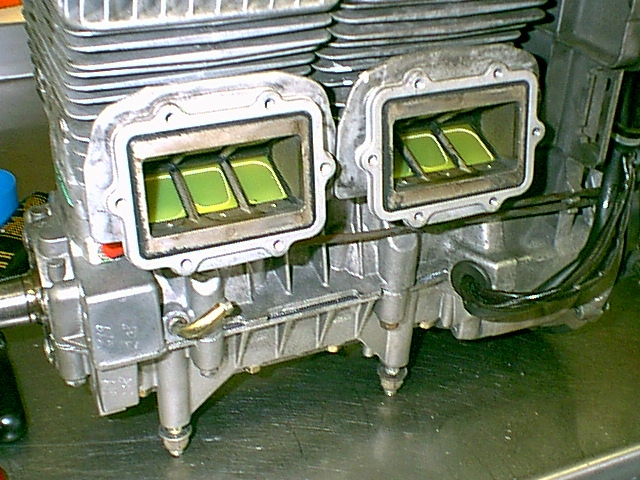
I dropped the Boyesen reeds in for kicks:
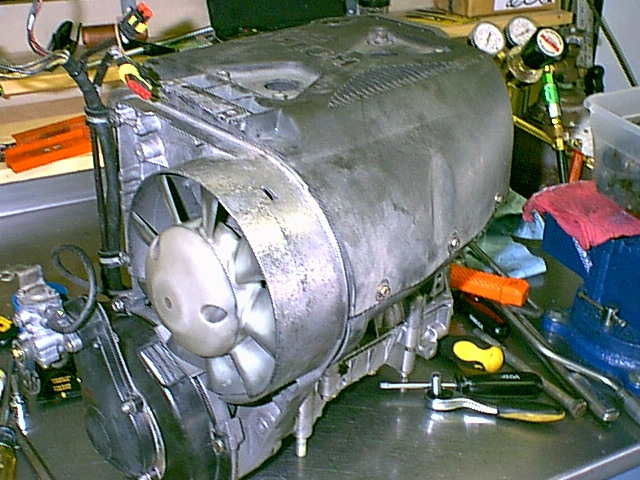
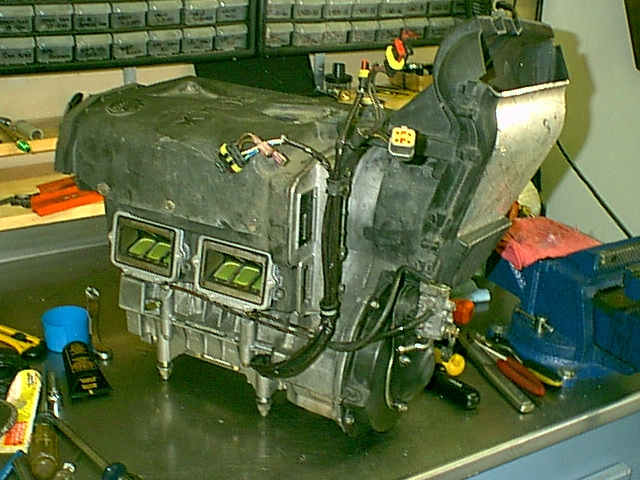
Next came all the all the fan shrouds for the motor.
and the final assembly done, and ready to drop in the chassis:
I am hoping to get a lot done this weekend on the chassis, but we will have to wait and see what the business does this weekend.
------
With work yesterday, the Michigan game, the Wisconsin game and some shocks to finish up. Didn't get much done on the sled.
Today I had no customer shocks to do and the whole day to work on the sled.
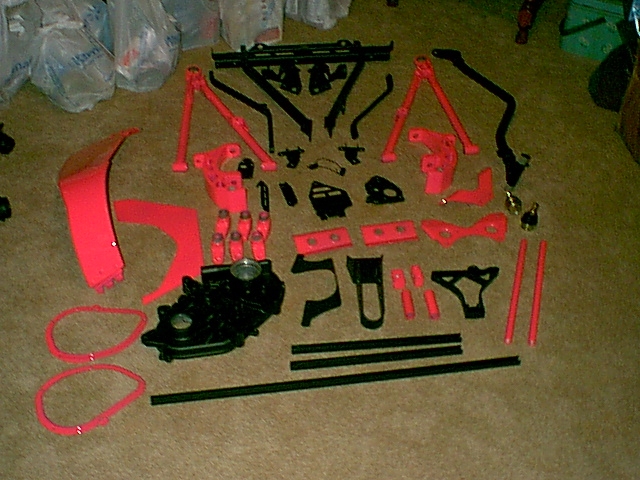
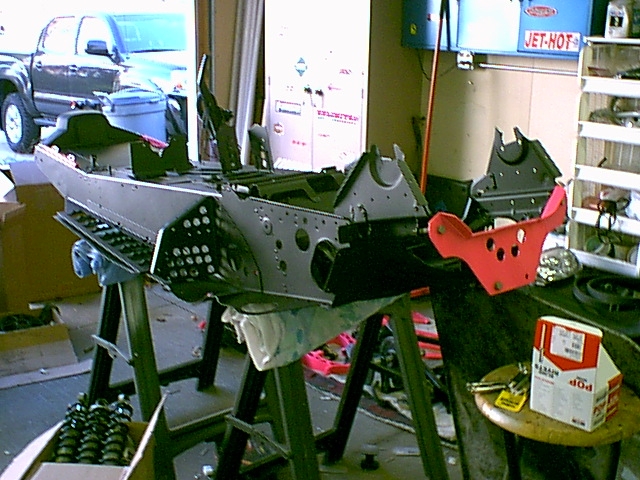
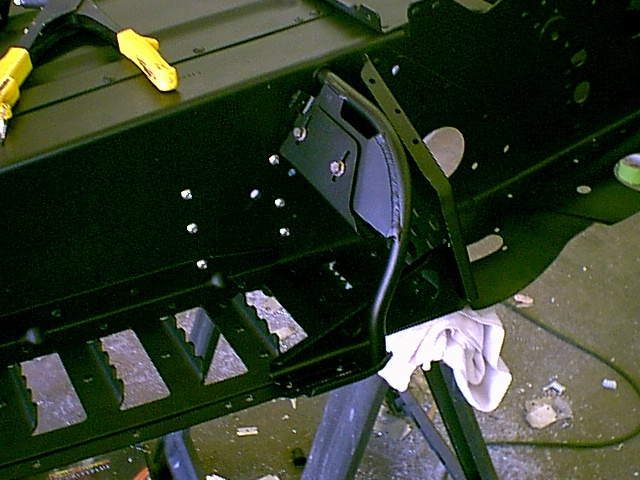
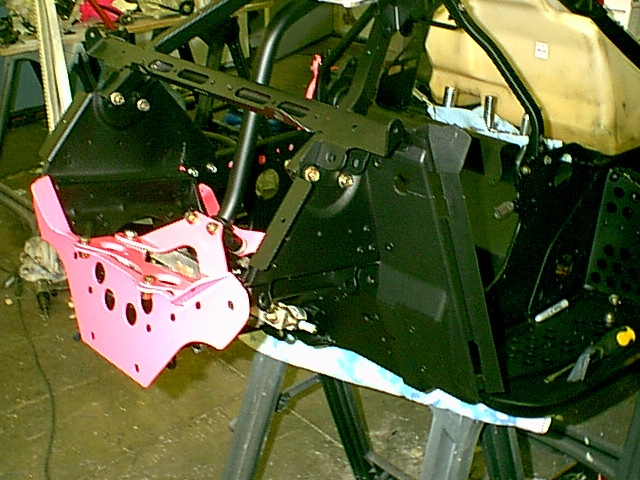
So, I got the Snow Eliminators on, the rear drop brackets, the front brackets, the 440X footwell bracing, the footwell supports and foot adjusters all in place:
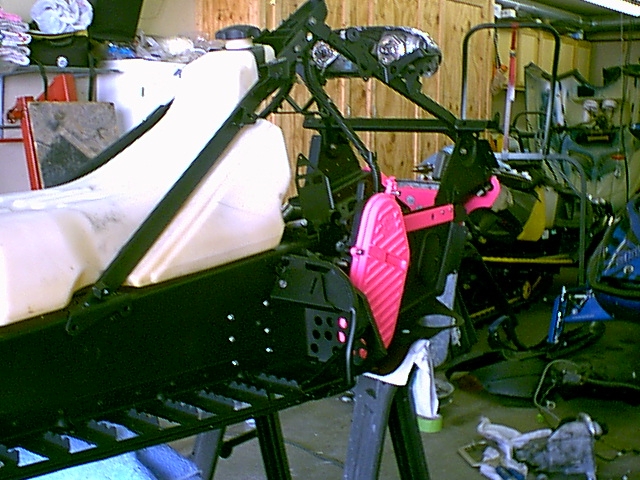
Next, I got the chain case put on and properly aligned. Then the MAG side 440X brace, all the upper pyramidal supports. I also has to re-install the brackets that hold the head light in place, hence the headlight seeming to be a bit pre-mature. LOL
Then came the front plate, all the steering pulley and post pieces:
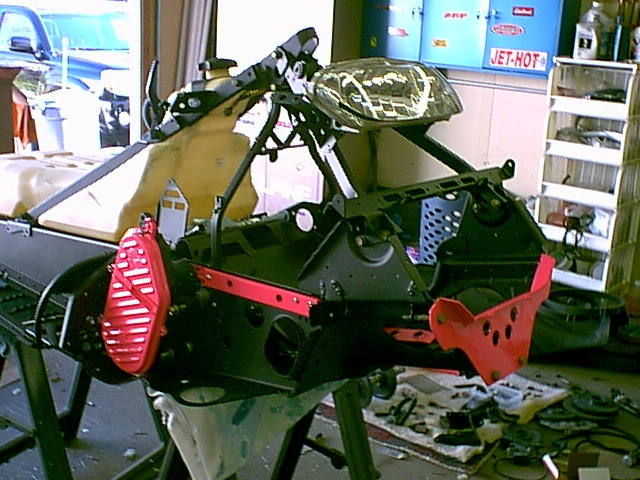
Next I had to put the aluminum tape on the side panels and installed those.
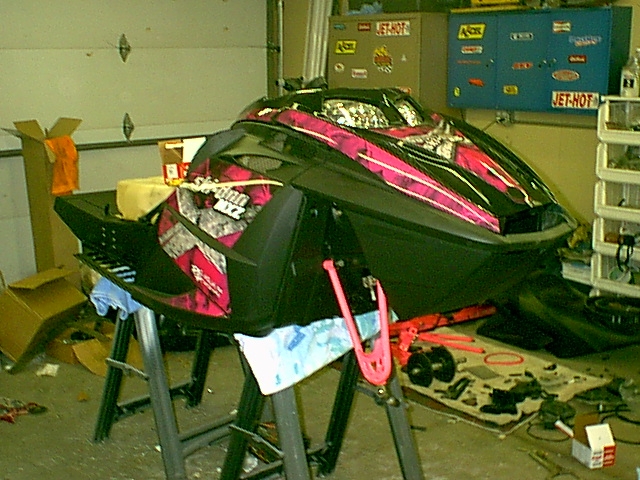
With all this stuff this far, it was too tempting to put the body pieces on to kind of what it was going to look like.
That is all for today. I will be working on it here and there this week. So I will have further updates later this week.